Photoshop Tutorial: How to Make a Free Custom Scene Header for Your Blog
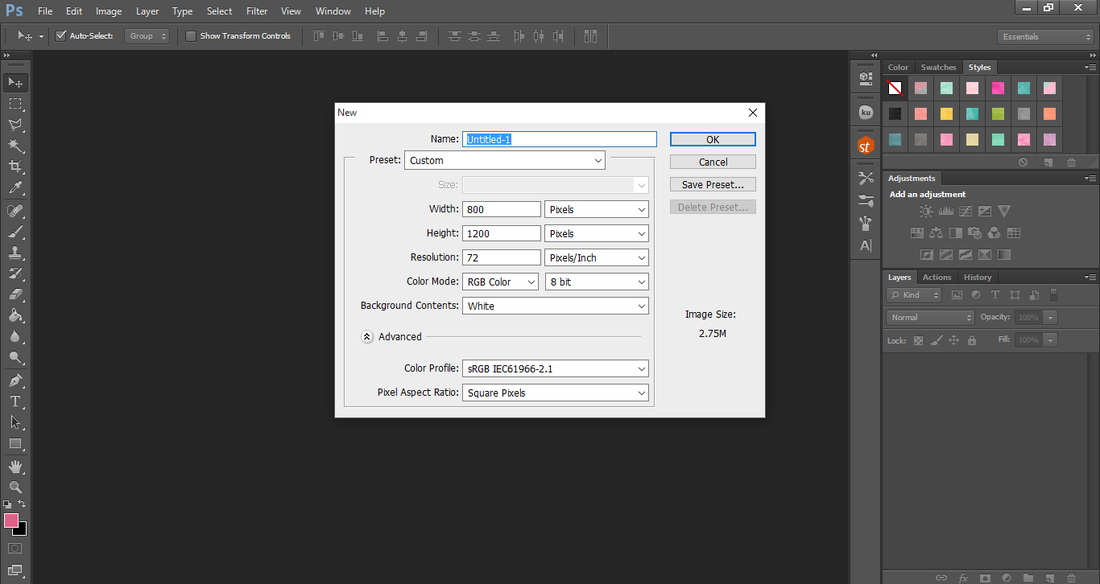
1. File-New 800x1200 px
2. Open Branding mock PSD in photos.
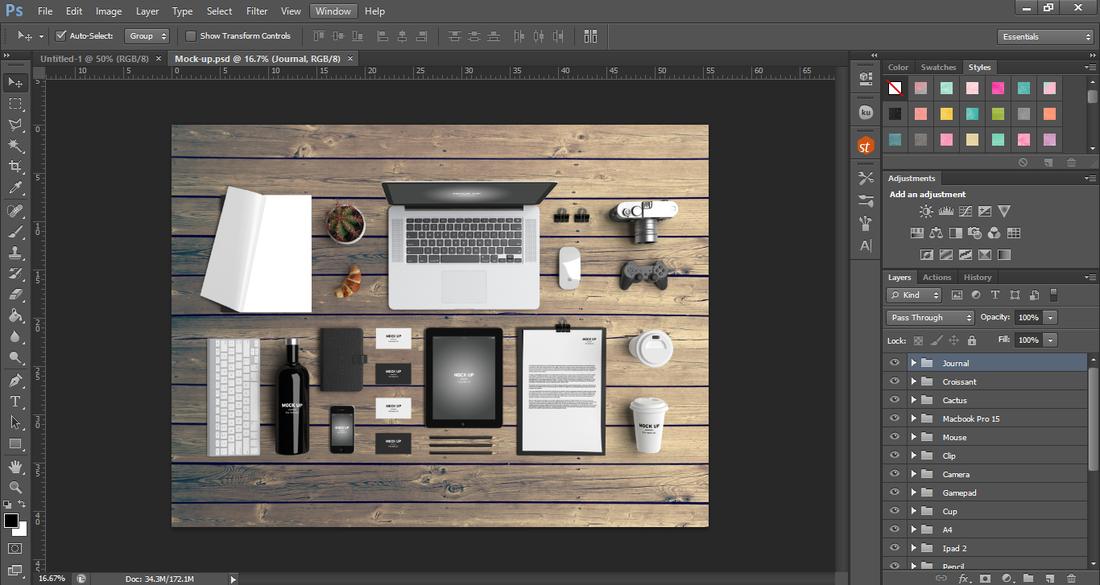
3. Step by step A-C.
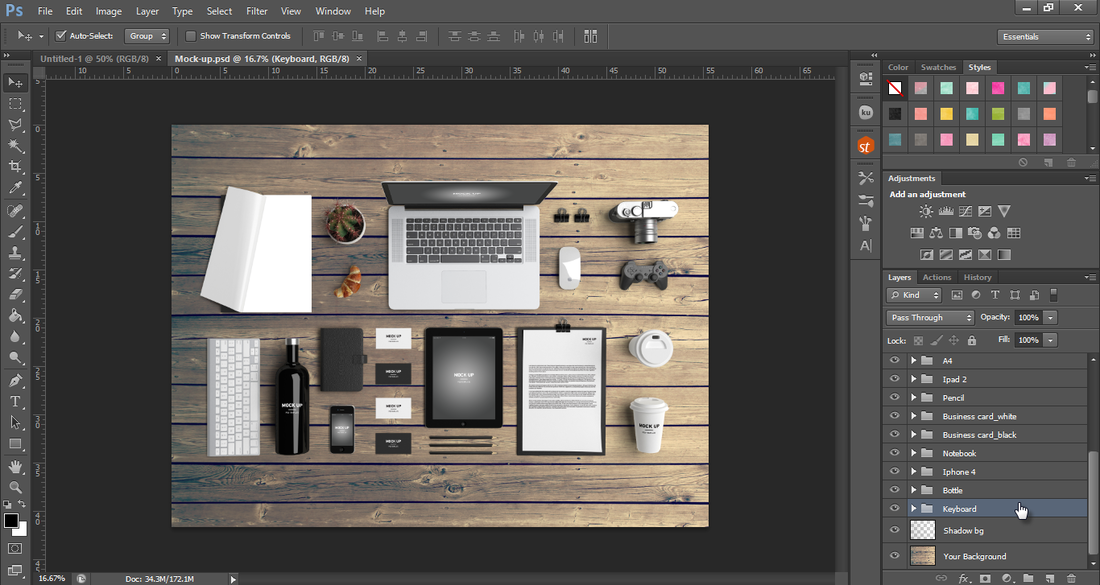
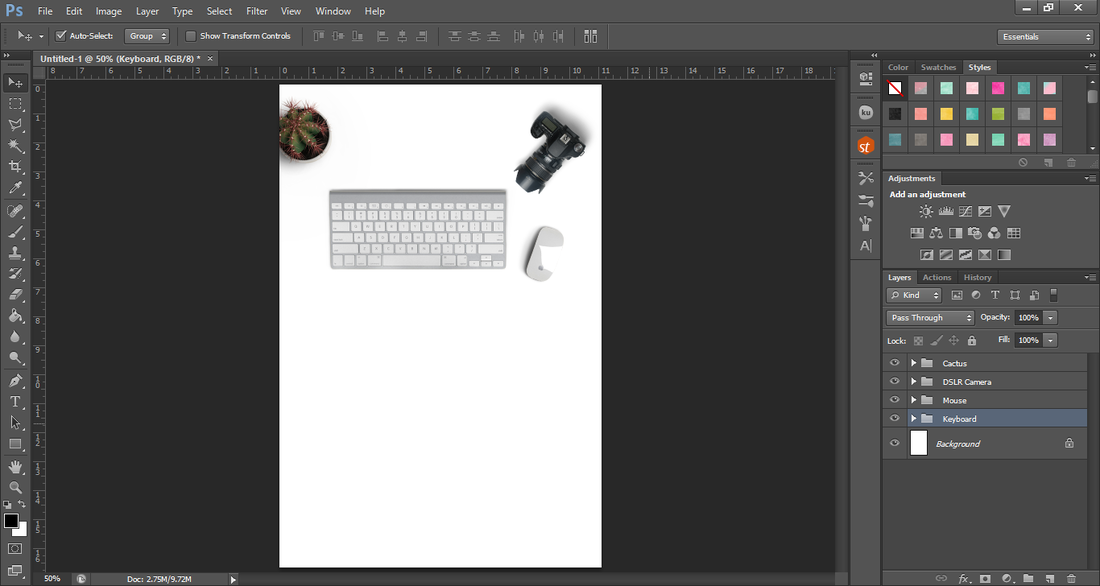
A) Click on the keyboard layer.
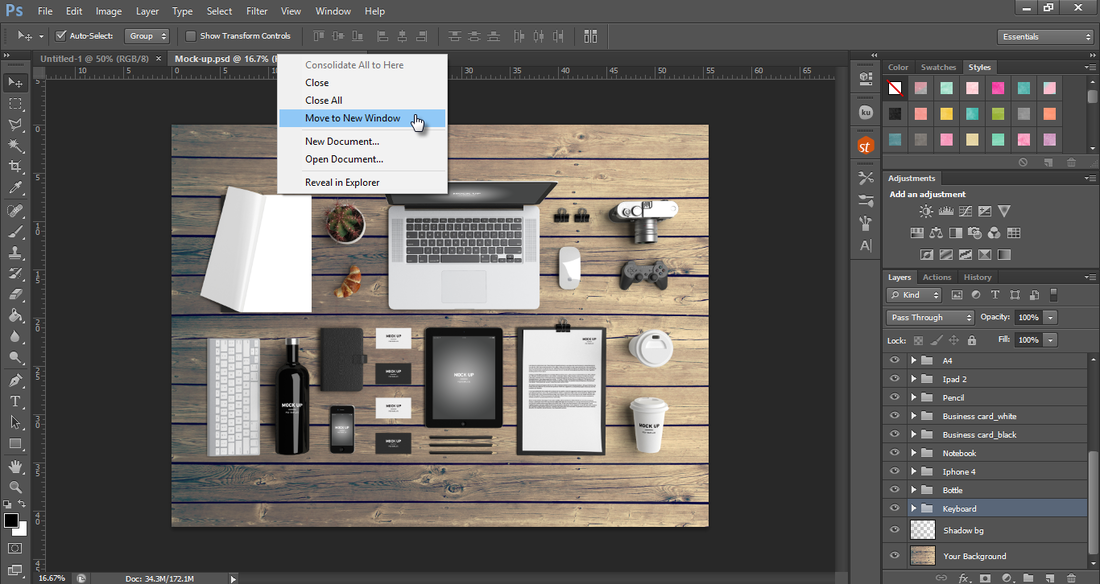
B) Then click on the mock up tab right click and choose move to new window.
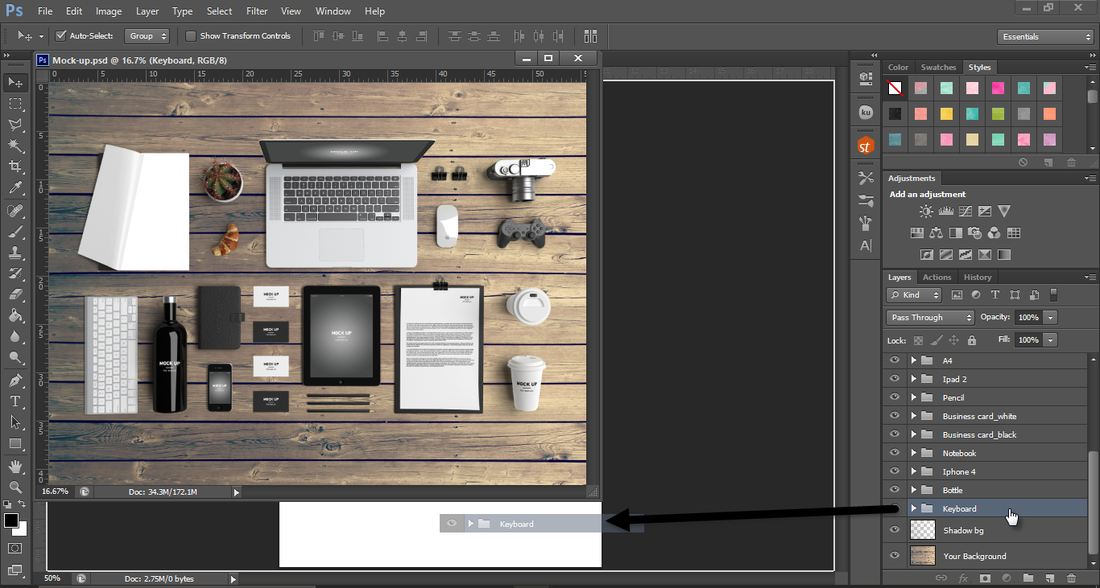
C) Now drag and drop the keyboard layer onto your blog header.
A) Click on the keyboard layer.
B) Then click on the mock up tab right click and choose move to new window.
C) Now drag and drop the keyboard layer onto your blog header.
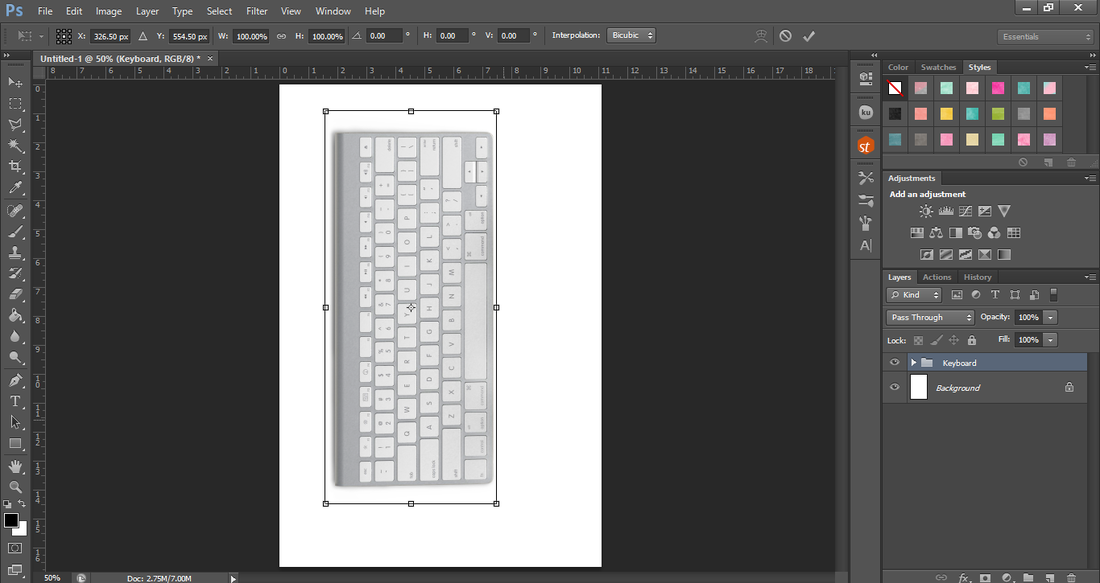
4. Use the transform tool to rotate, move and re size. Tip: Hold shift key on PC while you re-size.
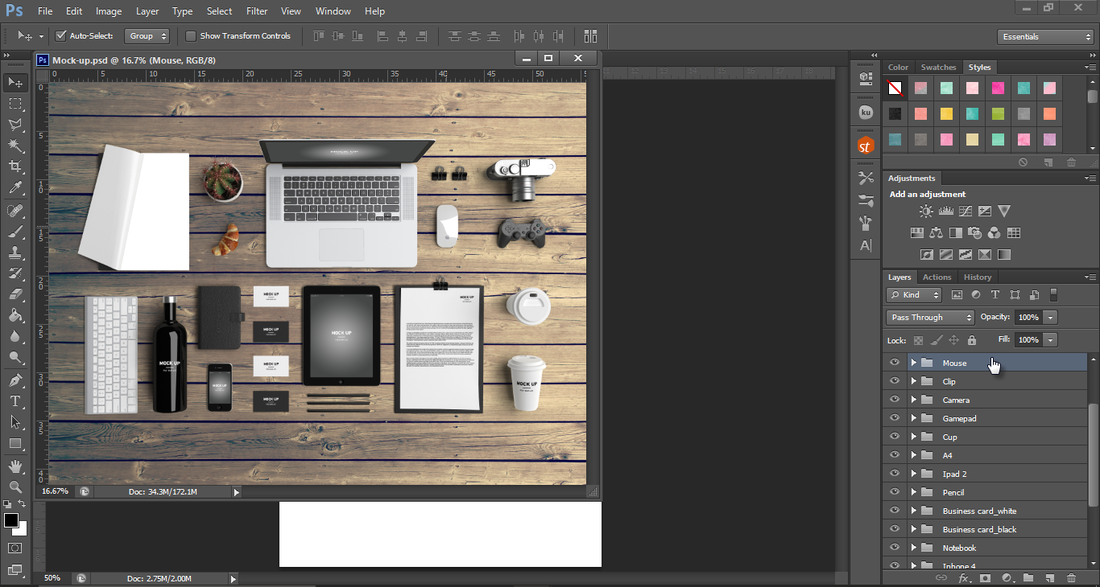
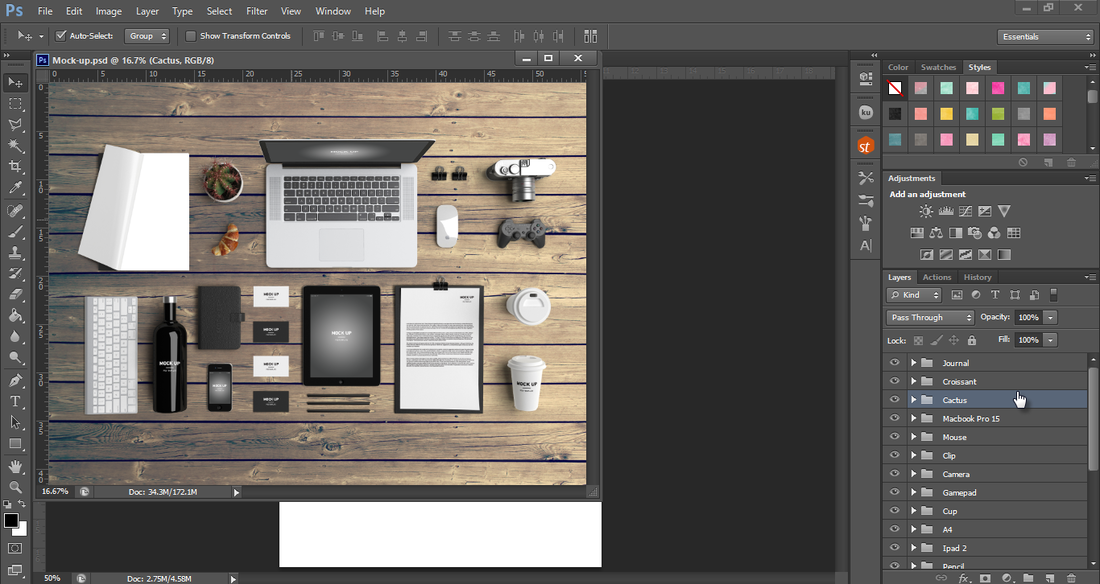
5. Go back to your mock up and choose the mouse and the cactus plant. Drag and drop the mouse onto your blog header like your did the keyboard.
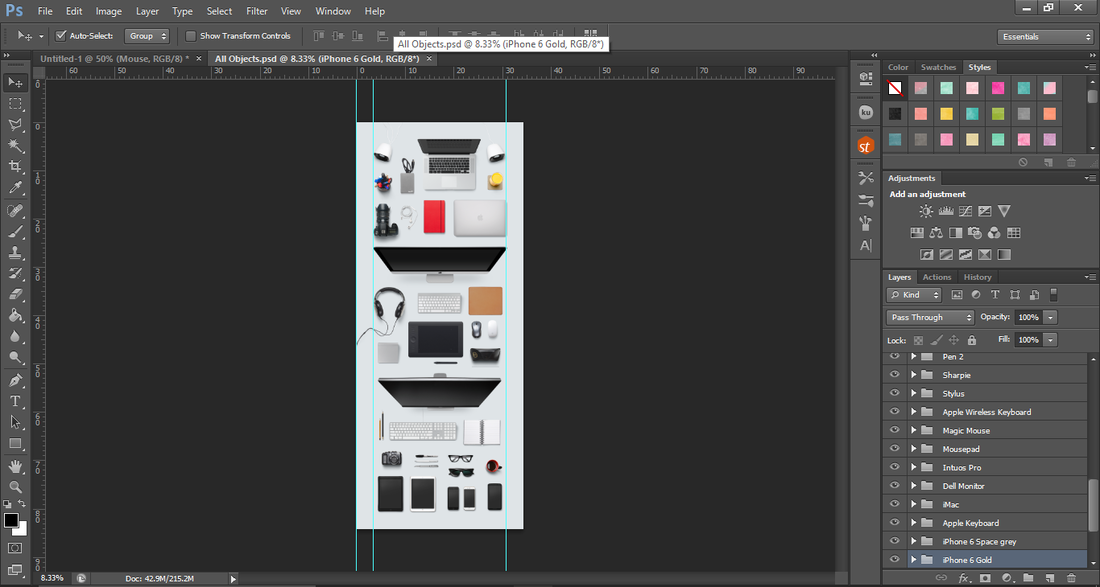
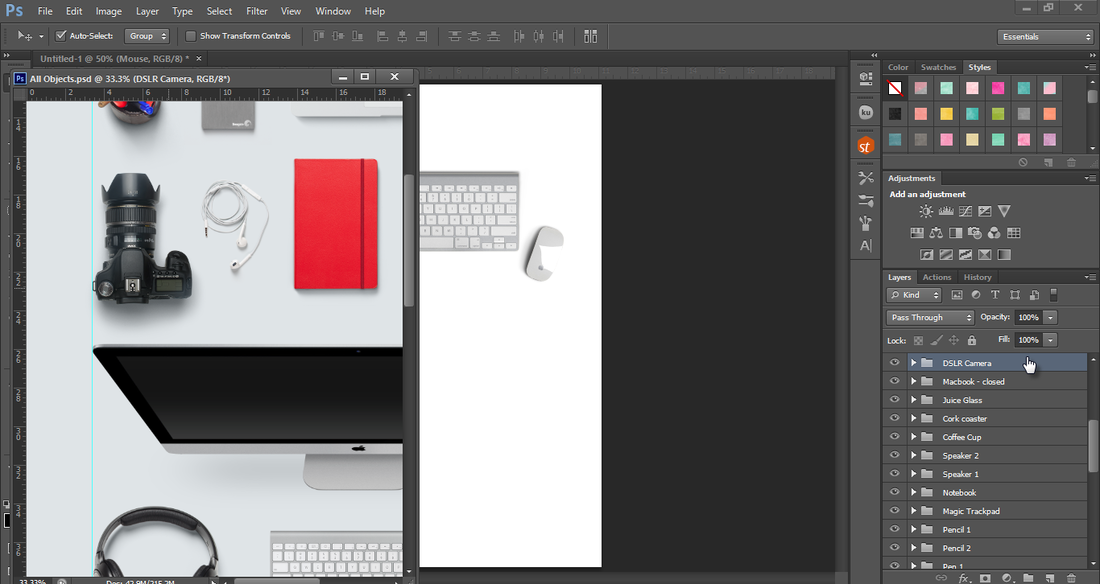
6. Open All Objects PSD in Designer-Desk-Essentials Mock up. Click on the DSLR Camera layer and drag and drop it onto your blog header.
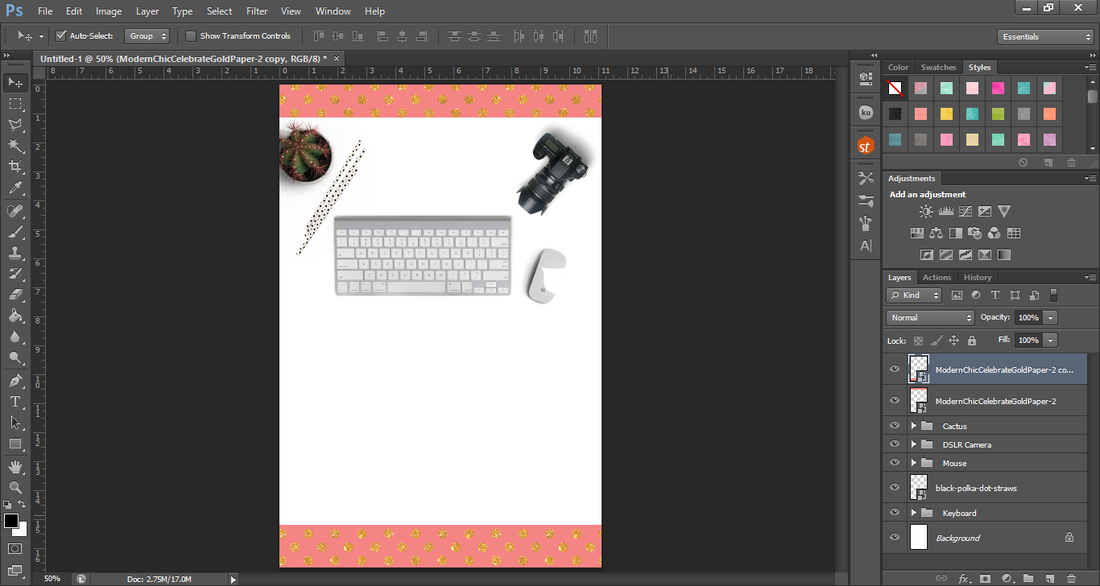
7. After doing steps 1-7 this is how my blog header looks for now.
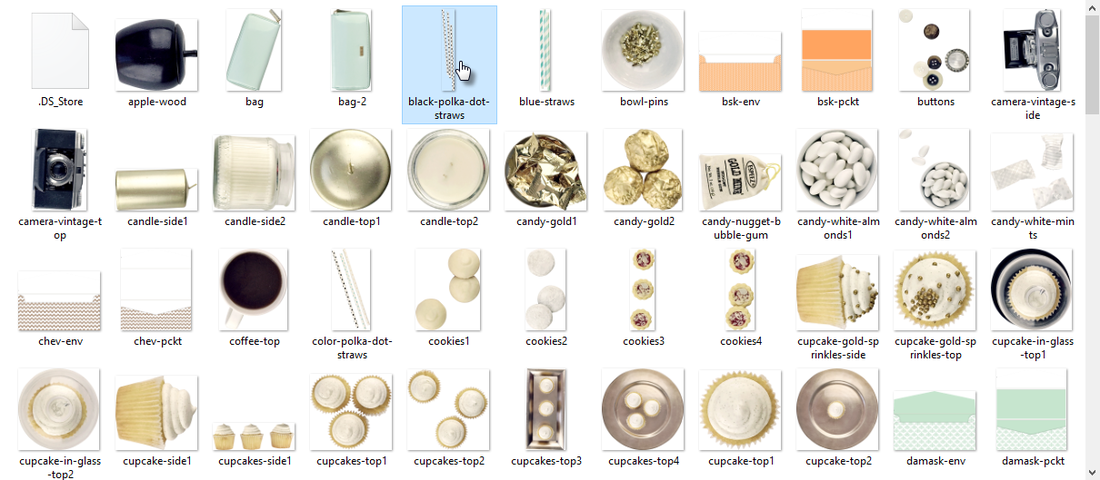
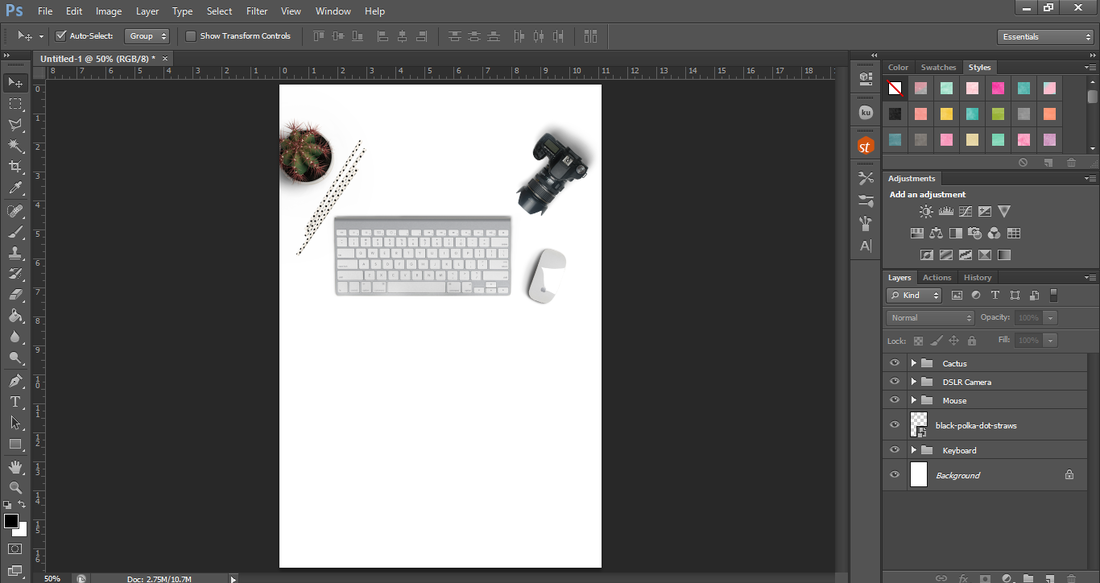
8. Open the folder RenaeChristineStyledDesk and choose black-polka-dot-straws. Drag and drop it on your blog header in Photoshop or go to File-Place and locate the file.
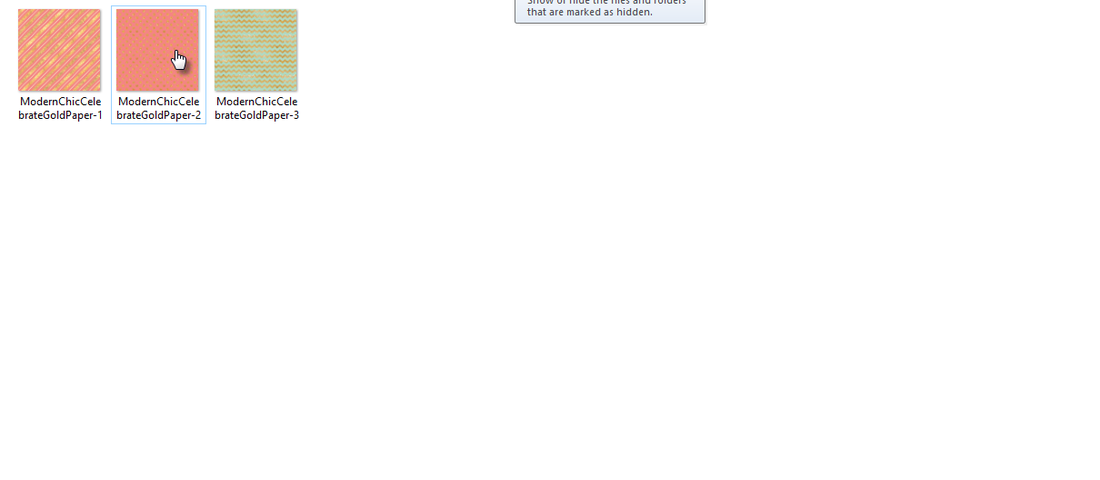
9. Open the folder ModernChicCelebrateGold_ArtPkg and choose a pattern of your liking. I'm using patter ModernChicCelebrateGoldPaper-2. Place the pattern at the top and at the bottom of your blog header. Once your done merge layers and save.