
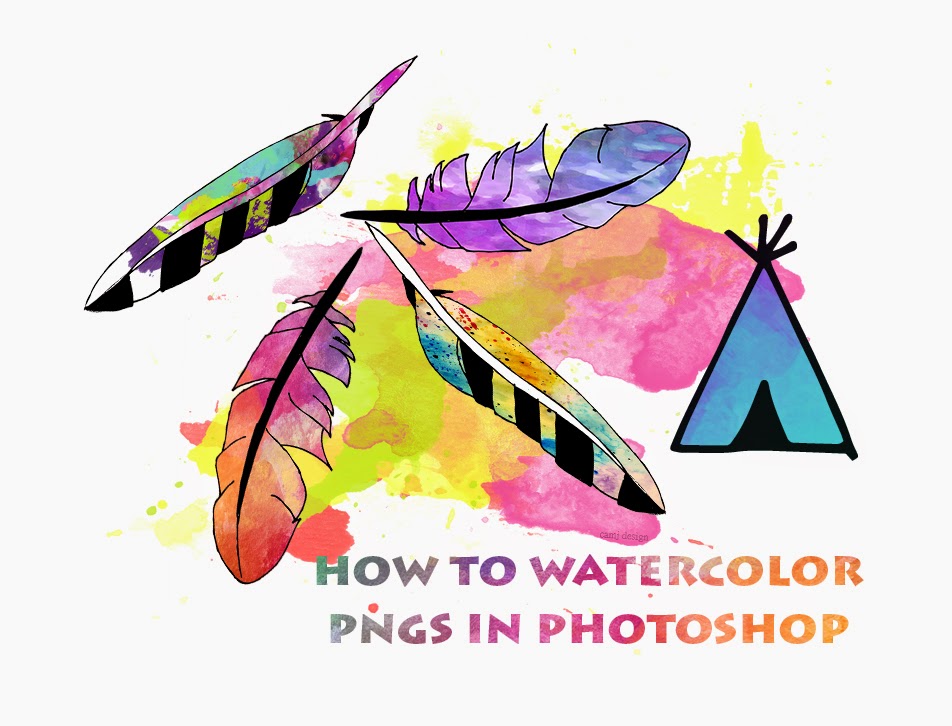
How to Watercolor Pngs in Photoshop
You Will Need Pngs and Watercolor Textures.
The Pngs I'm using in this tutorial can be found HERE.
Watercolor Textures can be found HERE.
The Pngs I'm using in this tutorial can be found HERE.
Watercolor Textures can be found HERE.
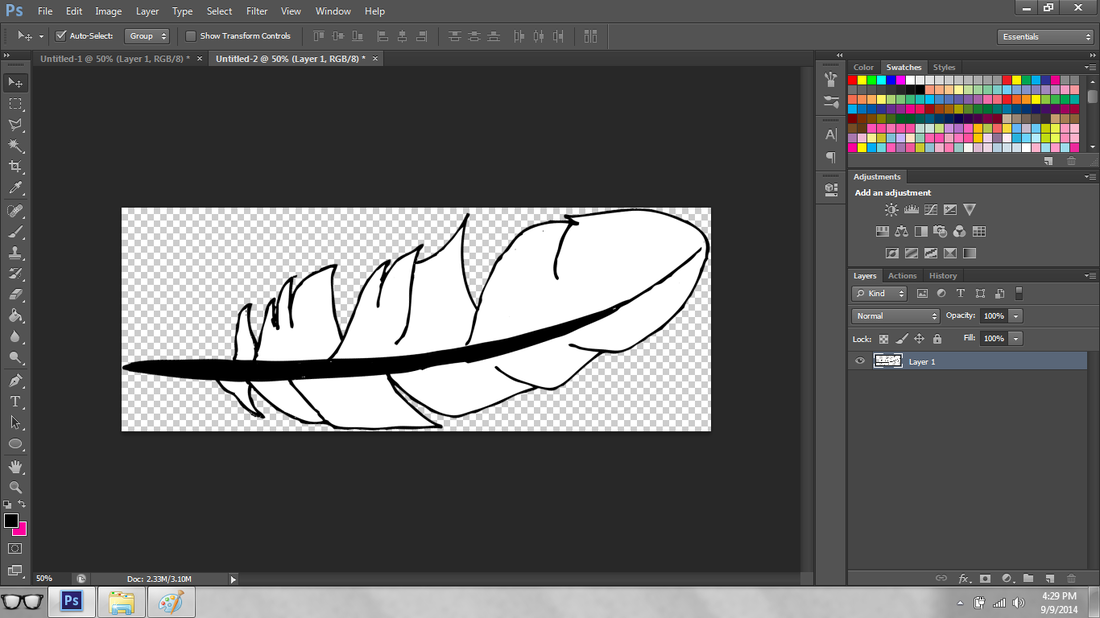
1.Open the png that you want to use to color.
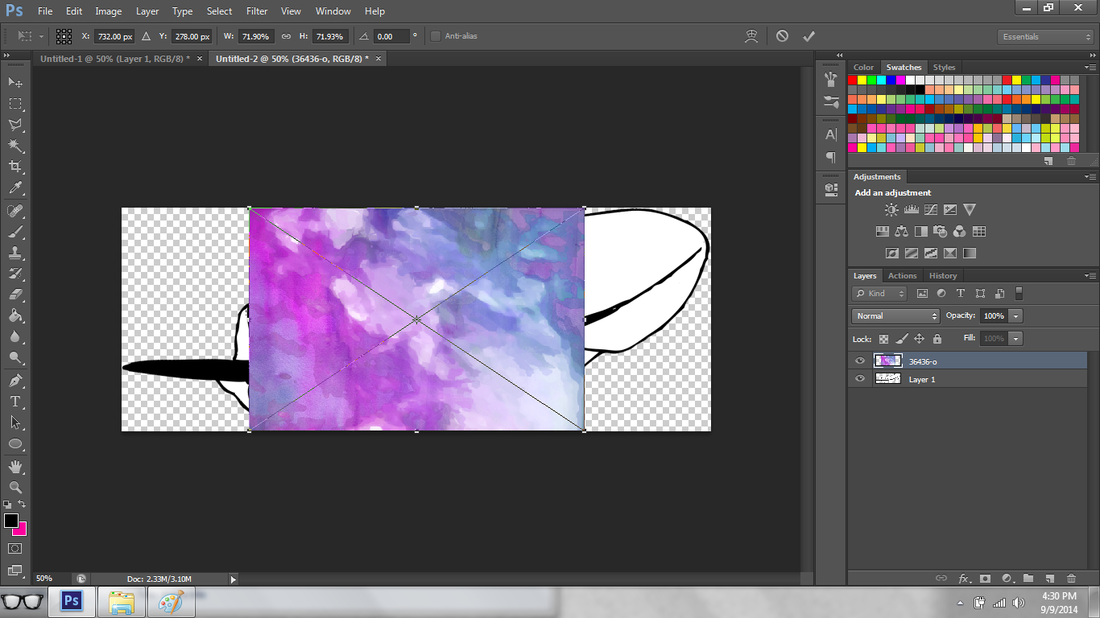
2. Place a watercolor or etc. over your png. Stretch to fit.
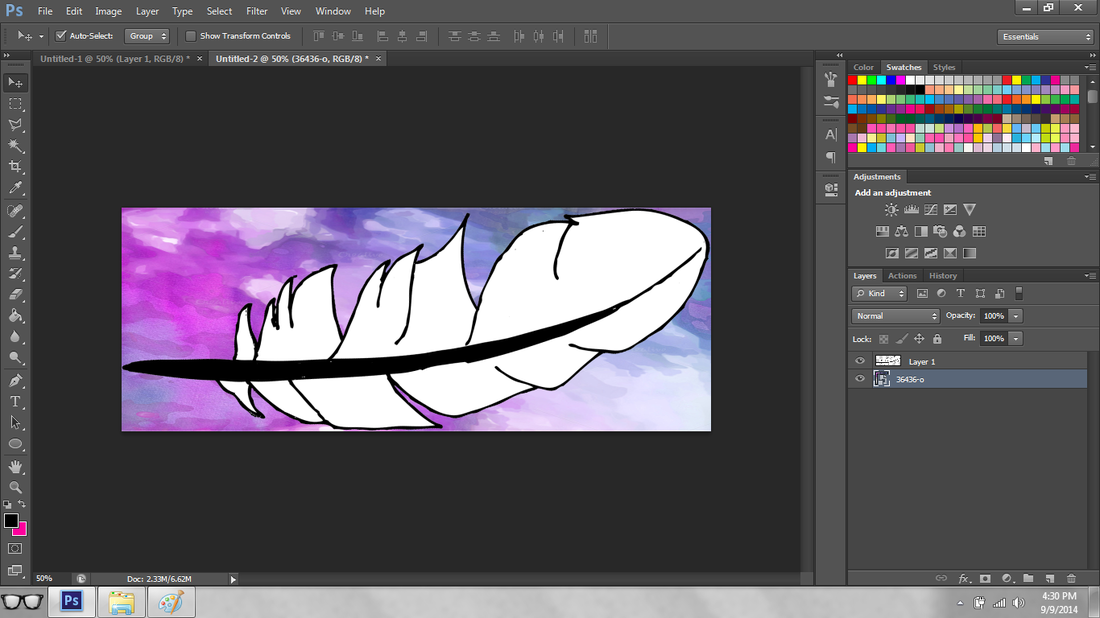
3. Drag the watercolor texture under your png layer.
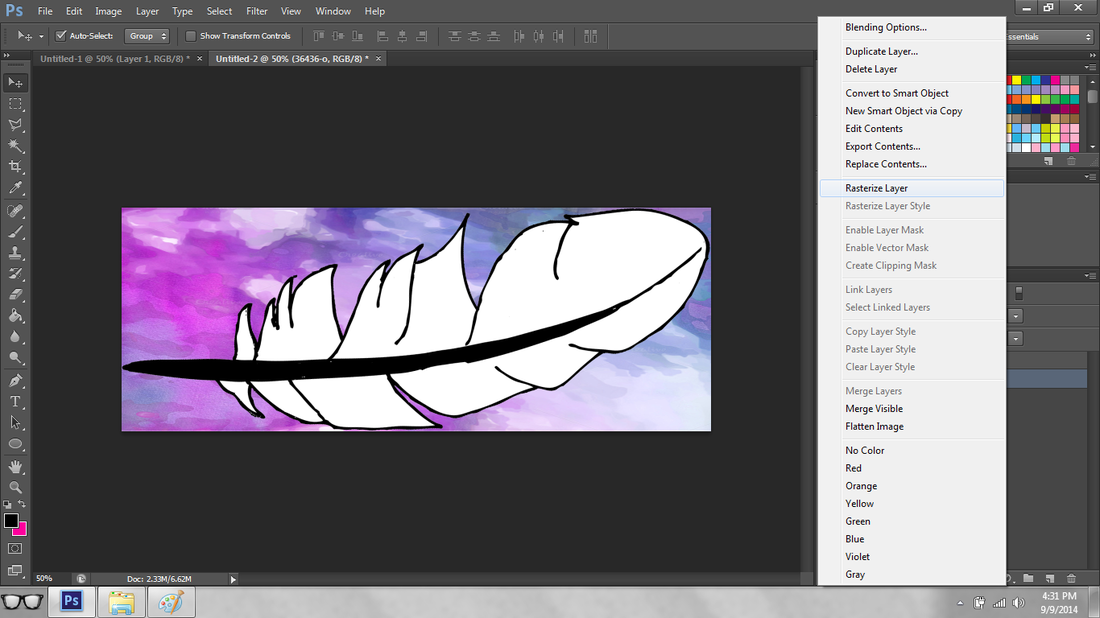
4. Click on the watercolor layer. Right Click-Rasterize Layer.

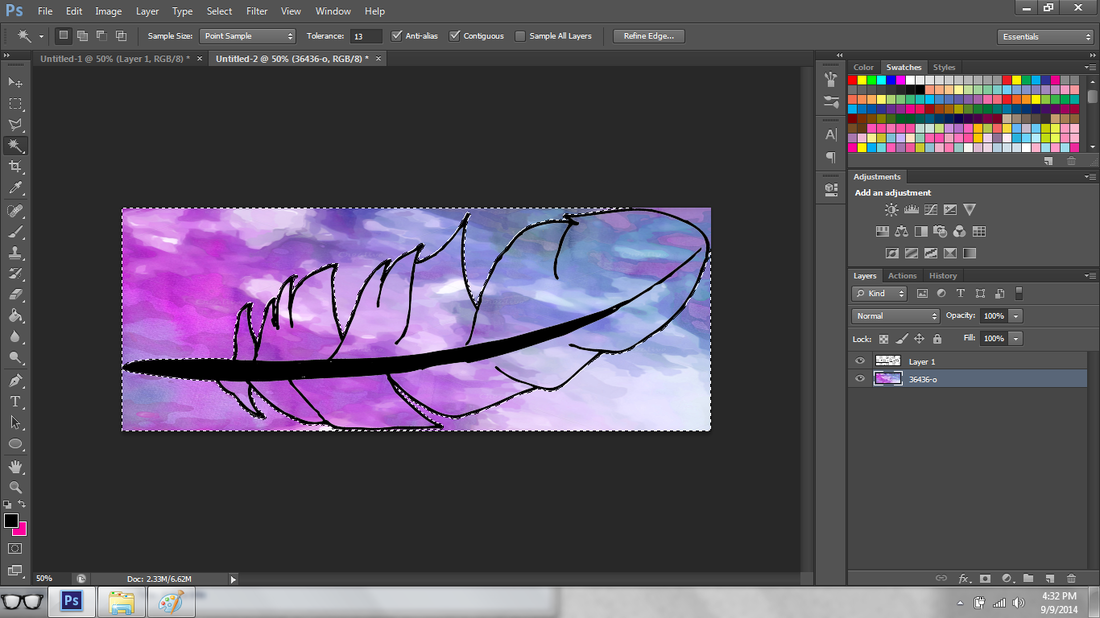
5. Click on your Png layer. Choose your wand tool and select the white or black areas of your png that you want to recolor. Tip, if your wand tool don't select the whole areas hold your shift key down and keep selecting the areas.

6.Once your area that you want to be colored is selected on the png layer, press delete on your keyboard.

7. Still on your png layer, use the wand tool and select the outside area of your png.
8. Once your are is selected on the png layer, click on the watercolor texture layer on the bottom. Using your keyboard press delete.
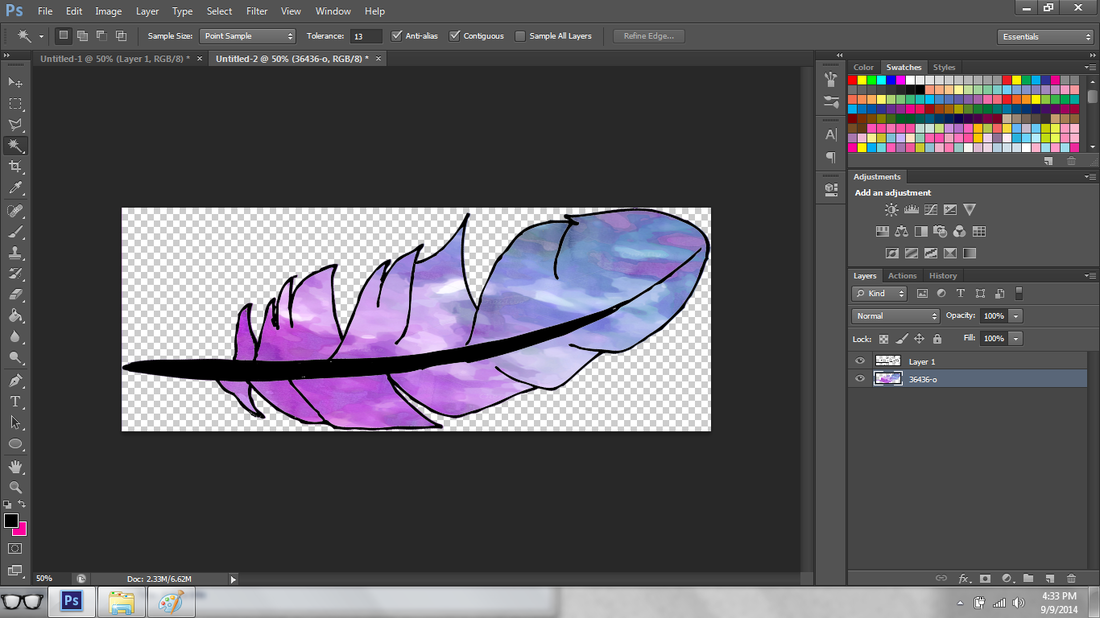
9. Your watercolor png should look something like this. Merge Visible and save as a png. See my EXAMPLES below.