
Make a Blog Watermark In Photoshop
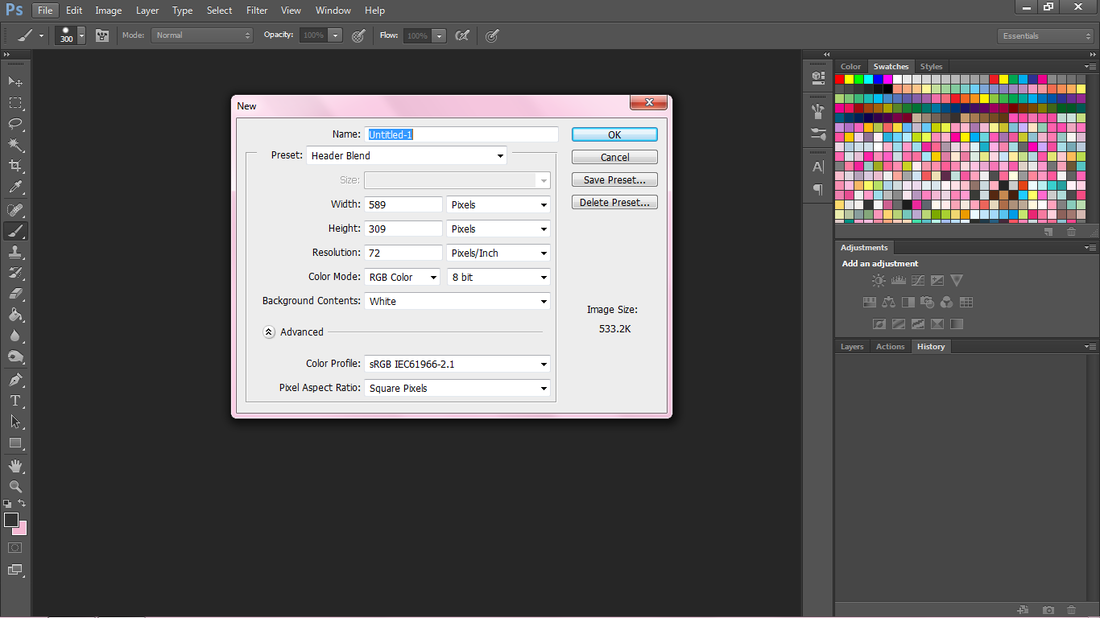
1.File-New- 589x309 pixels
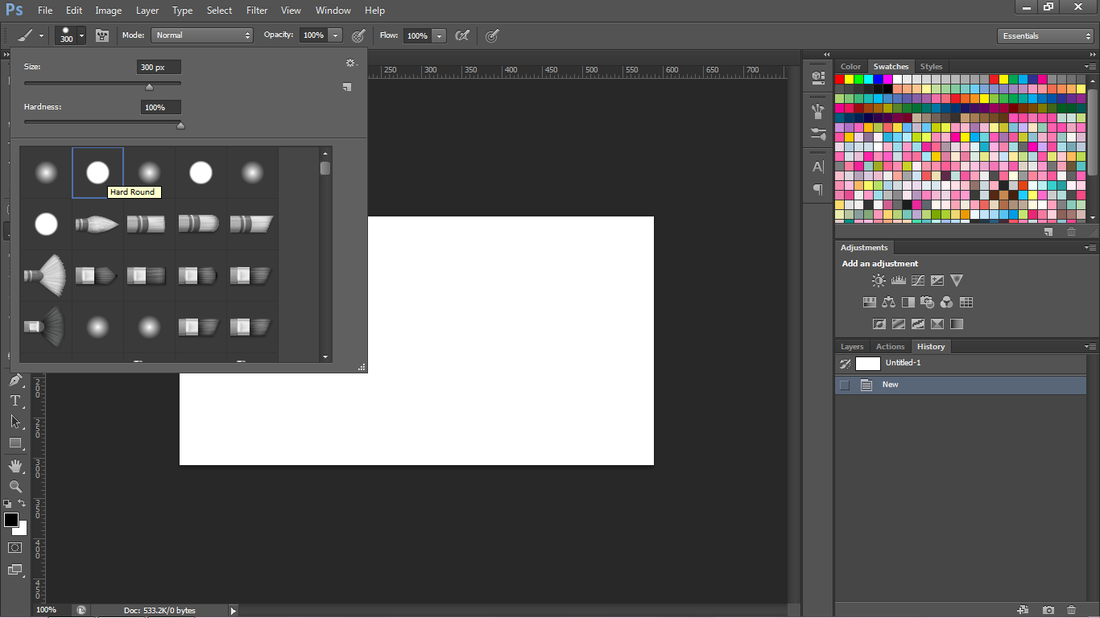
2. Choose the color black and the hard circle brush at size 300.
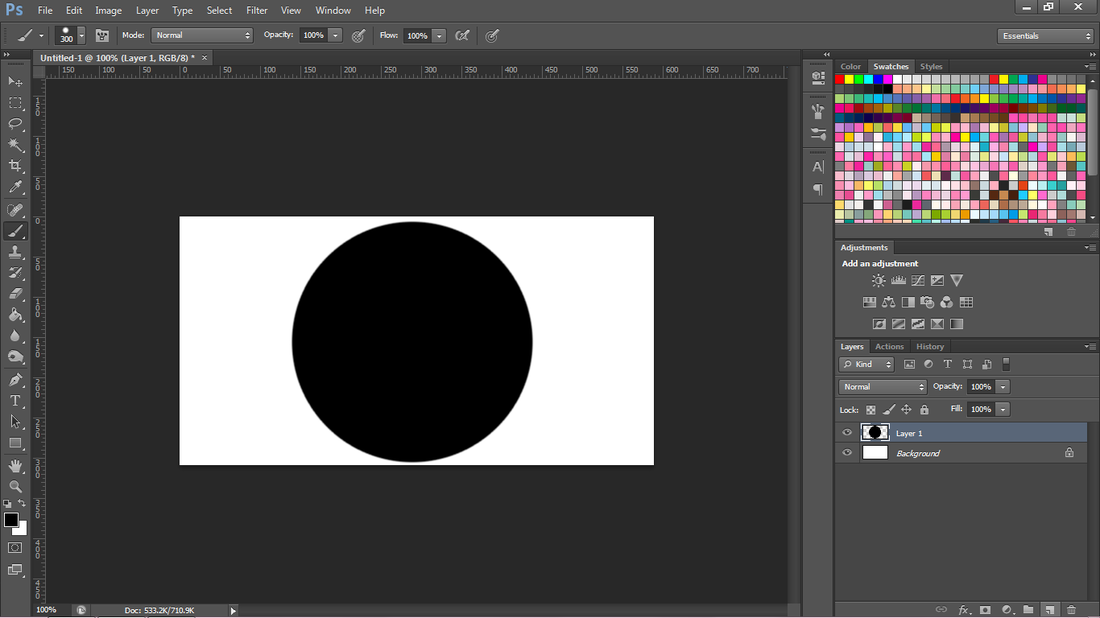
3.Make a new layer and stamp your brush in the middle.

4.Use your text tool. Write the name of your blog in bigger letters and the site url in small letters. Note if you want to use black text lower your opacity of the circle as I did in the next step.

5.Lower the opacity of the circle if your using black text. I did it even though I'm using white. White will show through as transparent on your brush.
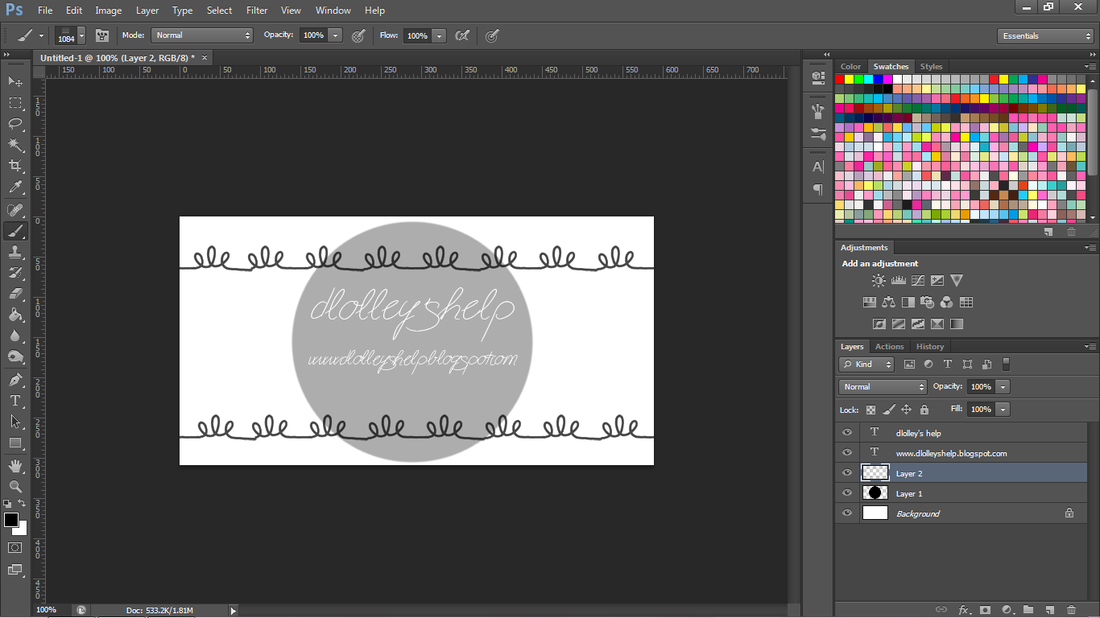
6.Make a new layer and use other brushes to decorate it as I have done here.
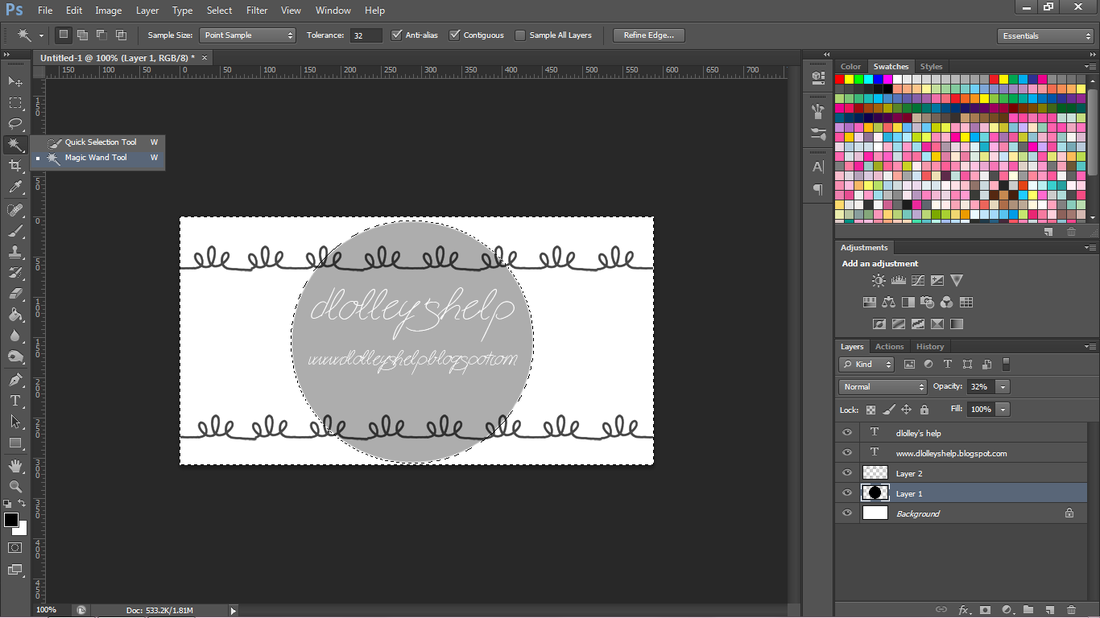
Click on the circle brush layer. Select the magic wand tool and click on the background area until you see it selected like the 2nd image in this step. Now click on the layer with your decorated brushes. On your keyboard press Delete. Now go to Select-Deselect at the top.
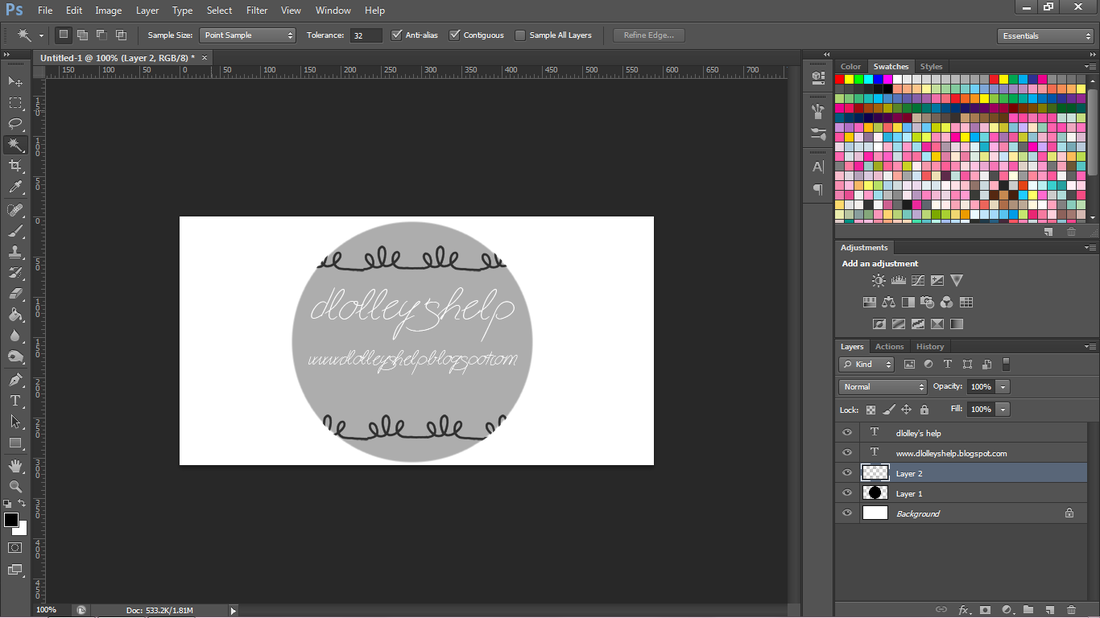
Once you have done all that it should look something like the 3rd Image in this step.
Click on the circle brush layer. Select the magic wand tool and click on the background area until you see it selected like the 2nd image in this step. Now click on the layer with your decorated brushes. On your keyboard press Delete. Now go to Select-Deselect at the top.
Once you have done all that it should look something like the 3rd Image in this step.
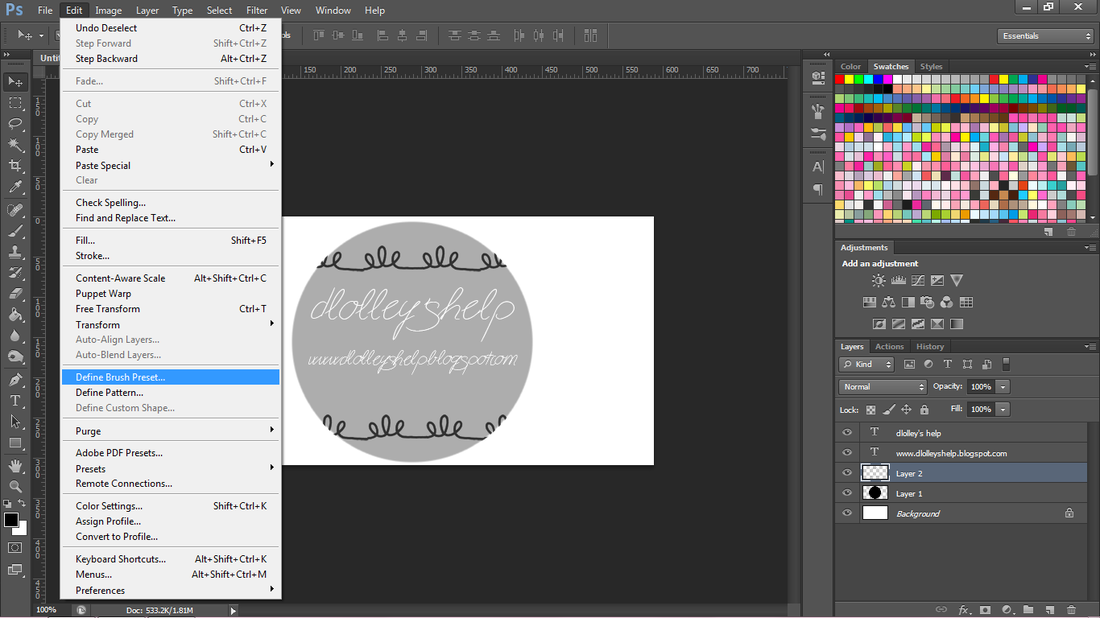
7.Now go to Edit-Define Brush-OK. Now your brush is ready to be used.