
Make A Photographer Logo In Photoshop

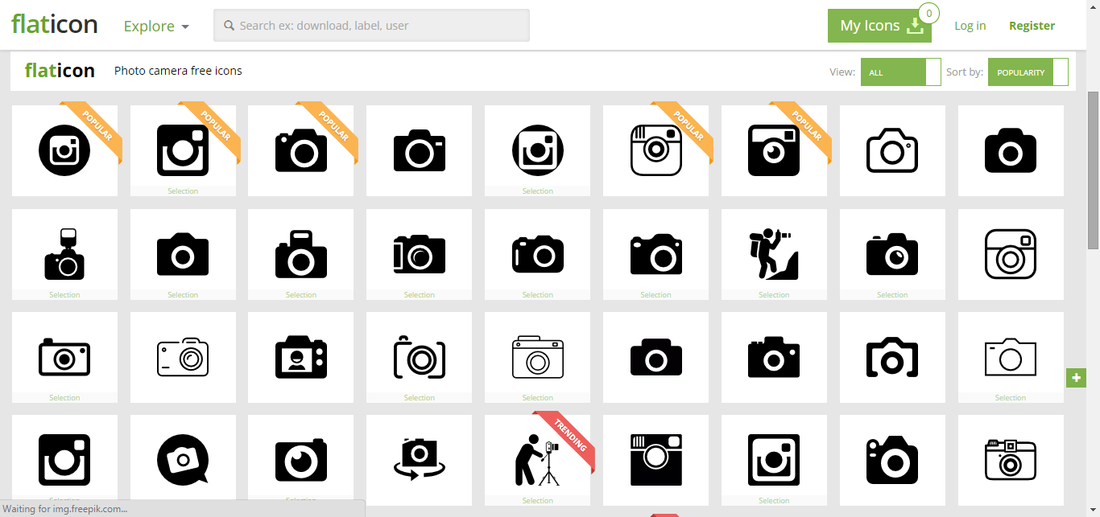
1. Go to Flat Icon to downlaod a free camera icon png.
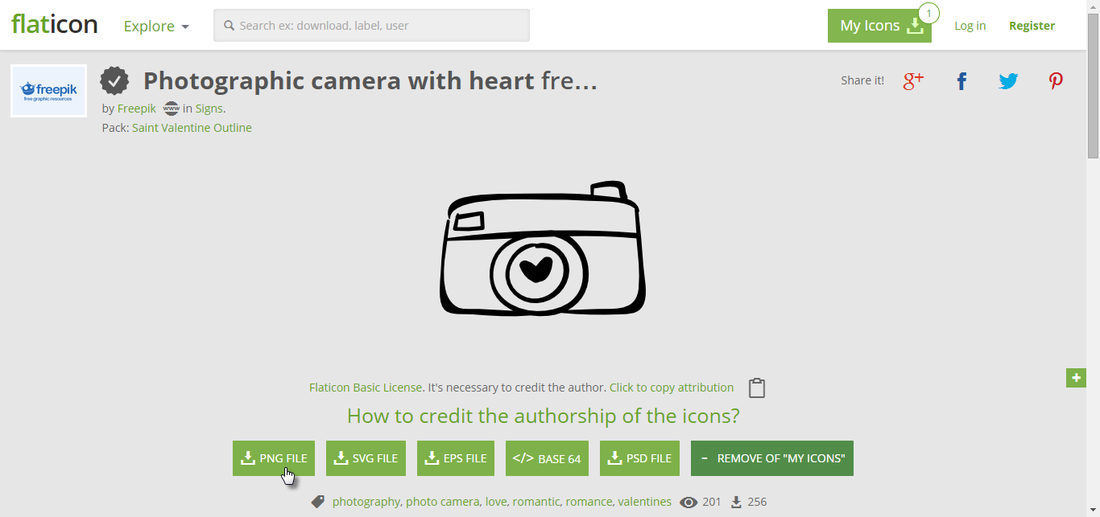
2. Choose the PNG FILE to download.
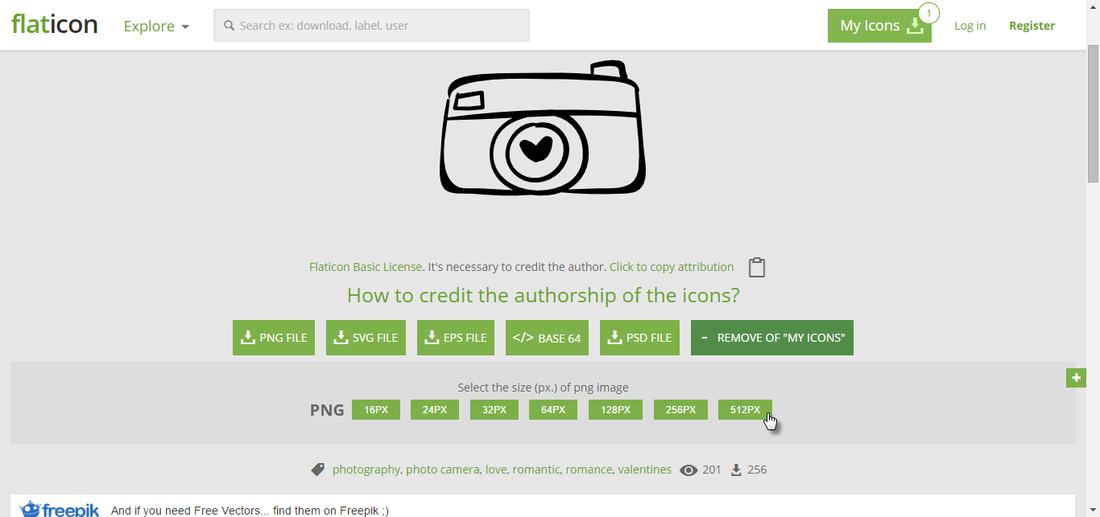
3. Choose the PNG size you would like to use. I went with 512px.
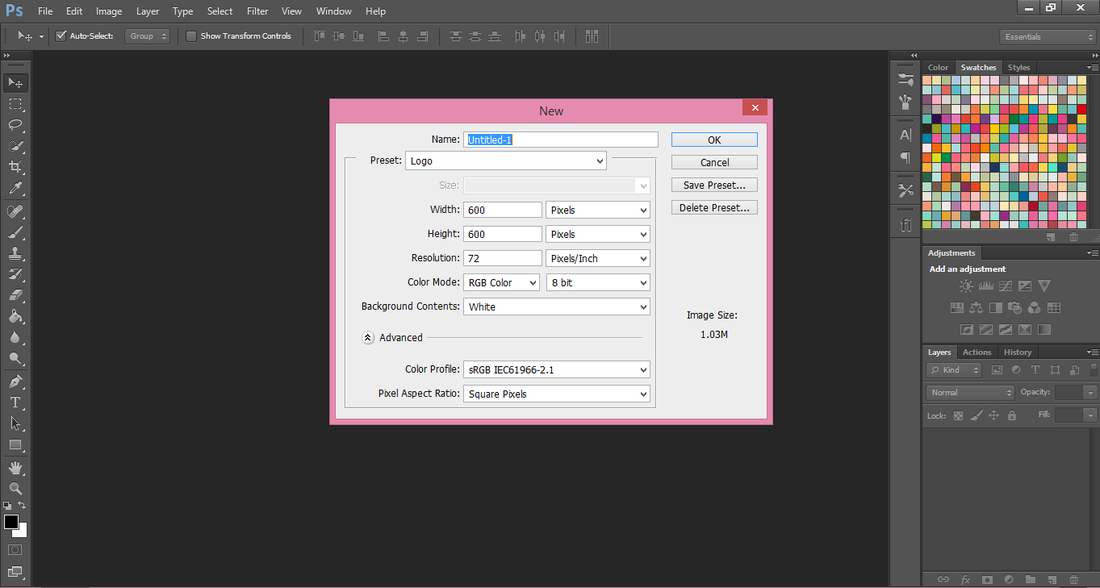
1. File-New 600pxx600px.
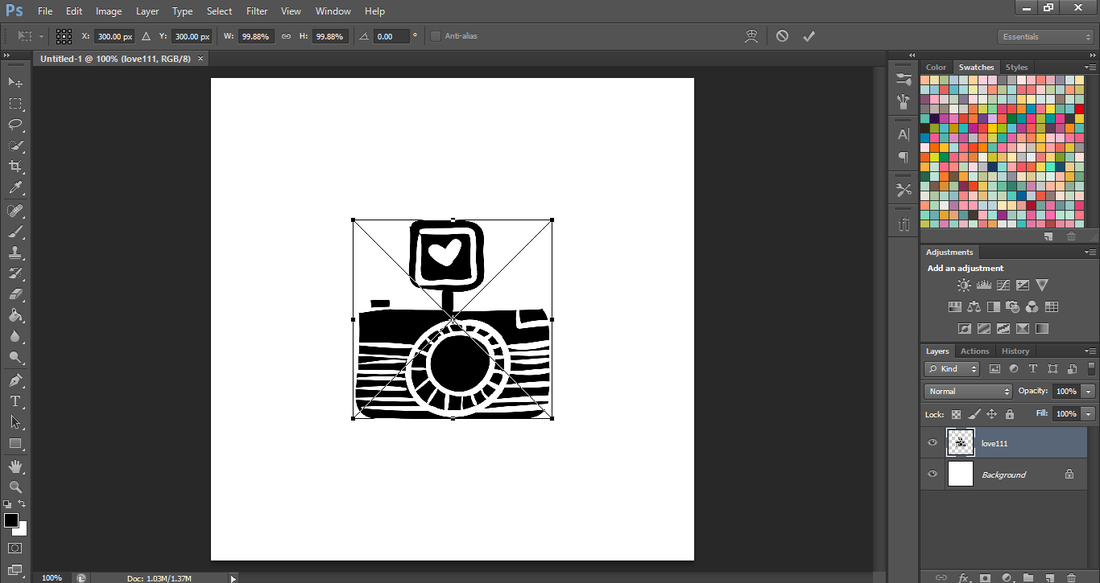
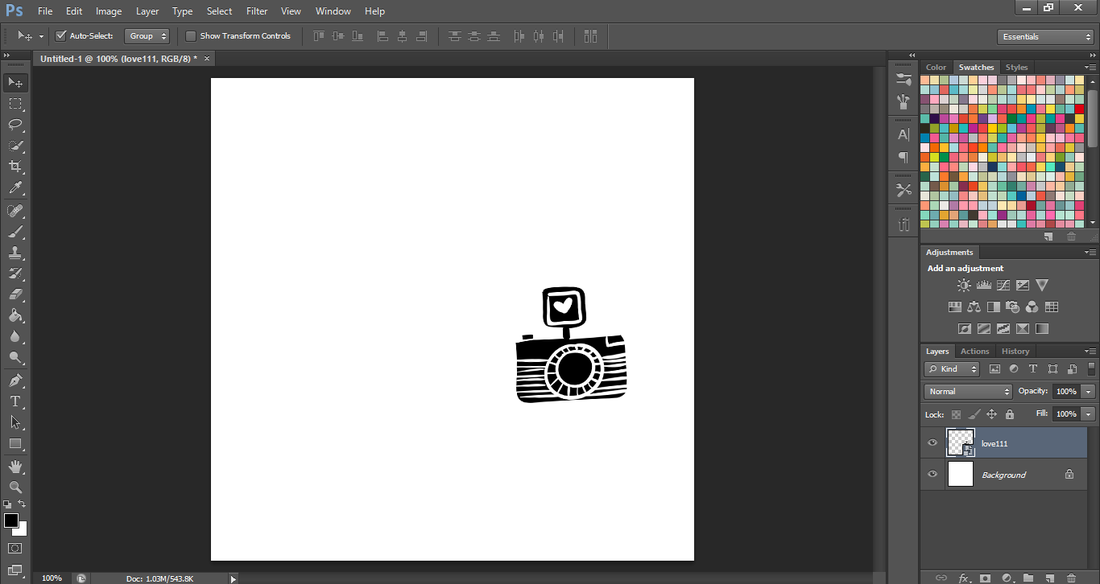
2. File-Place or drag and drop your camera PNG that you want to use onto your canvas. Resize and move to the side holding the shift key on your keyboard. Press enter once you're done.
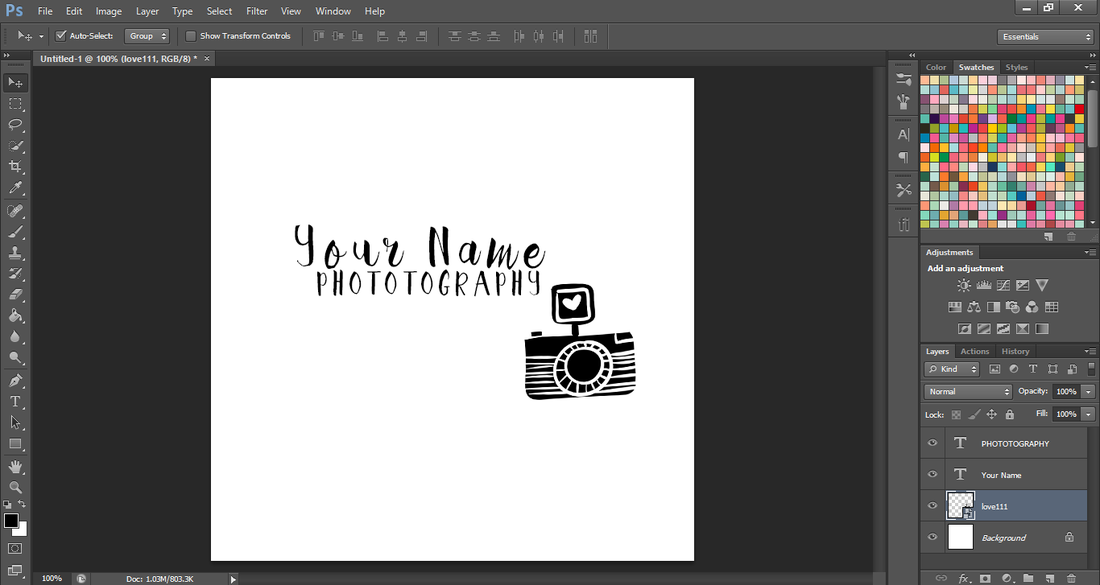

3. Add your text using at least 2 fonts. then move your camera icon closer and resize if needed.
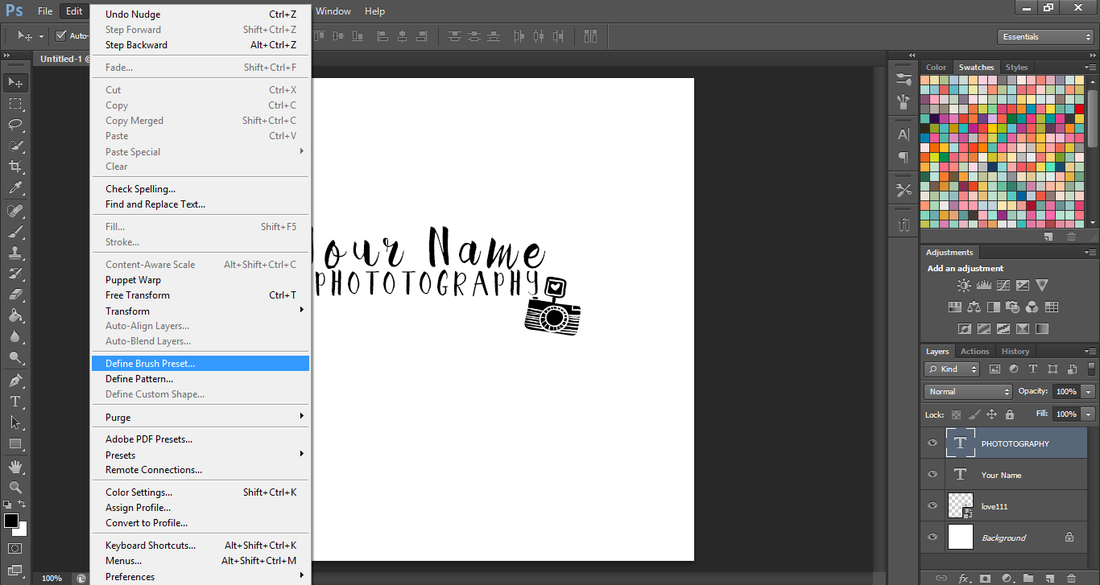
4. Now you can make your Logo into a photoshop brush. Go to file-define brush preset.
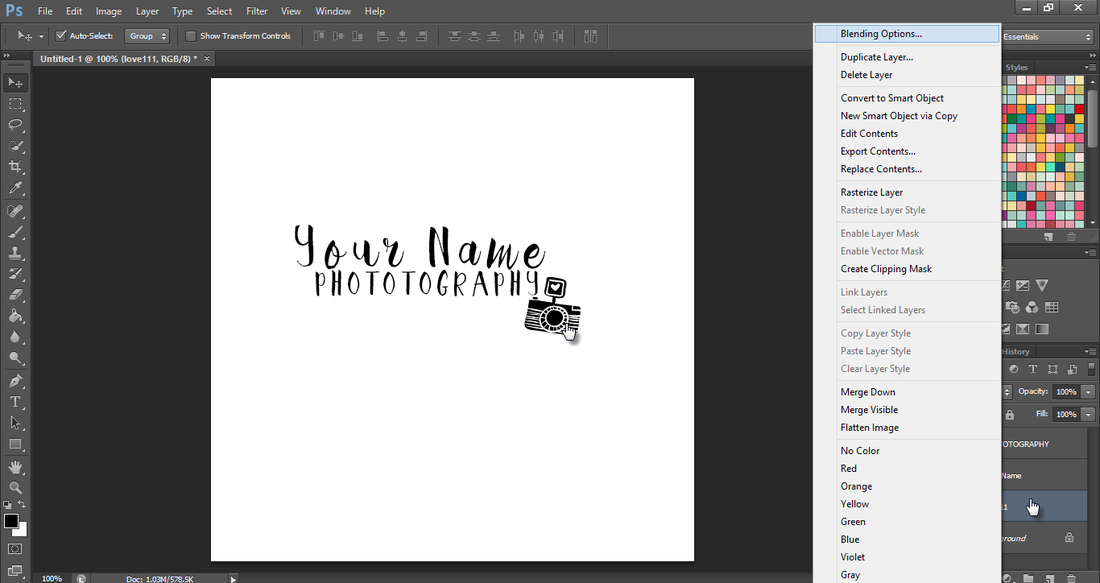
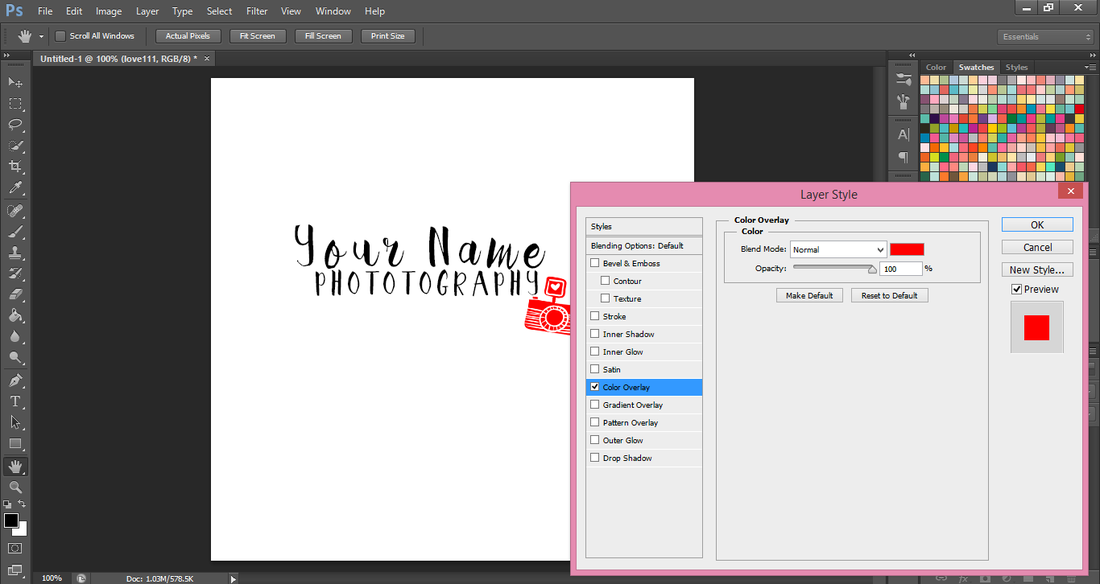
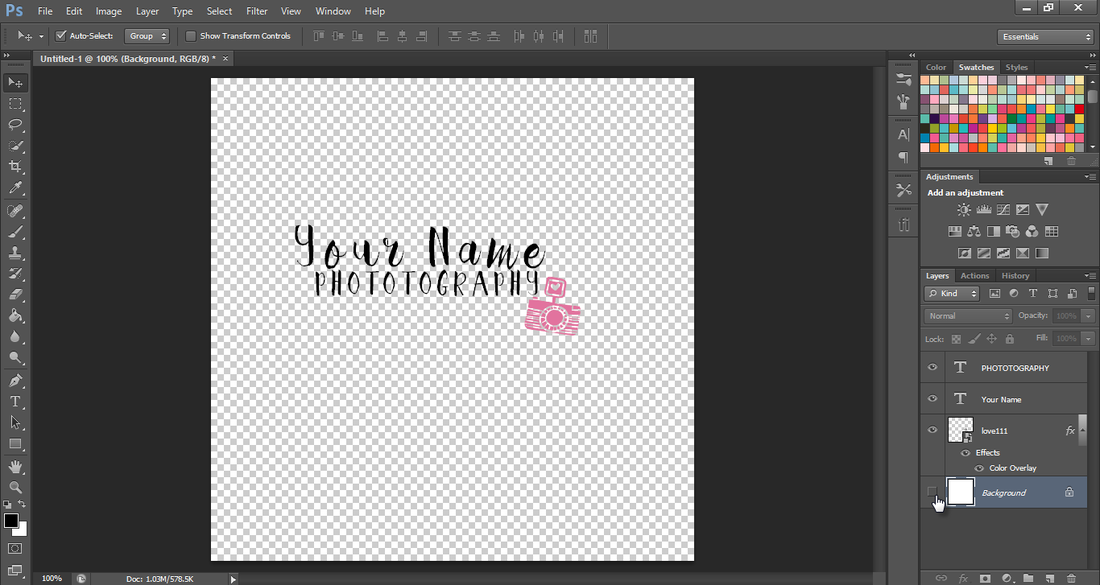
5. In this next step were going to add some color to our logo. Right, click on your camera icon layer-blending options-color overlay. Choose the color you would like to change it to then click ok. Then we want to turn the background layer off to make our logo transparent.
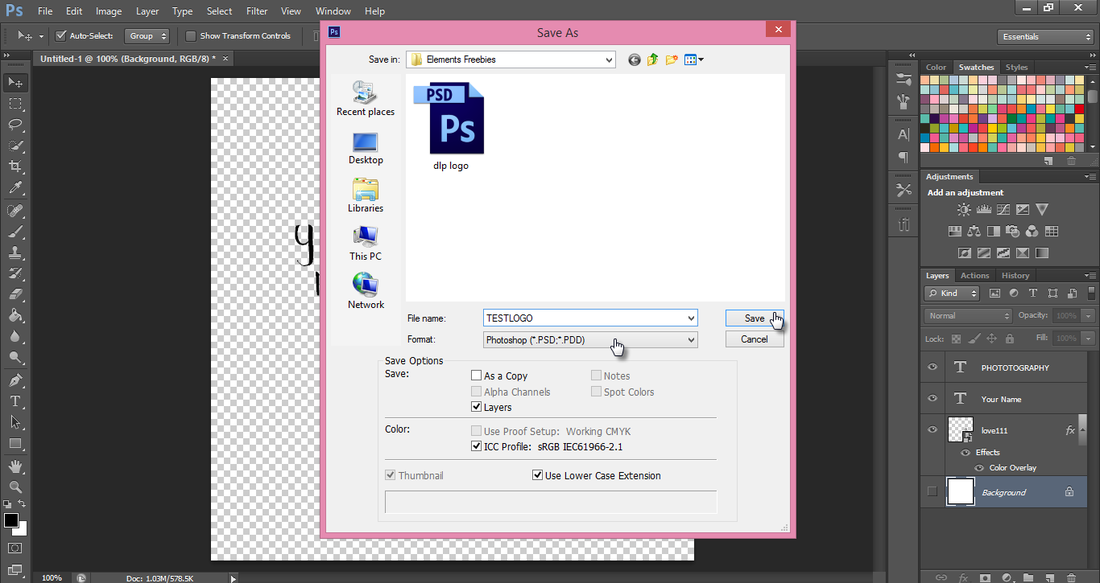

6. The last step is to save our logo. I like to save mine in 2 formats.Save you're logo as a PSD file first. This is a good idea to save your logo as a PSD file just in case you need to make edits to it later. Then save your logo as a PNG. Now you have 2 Ways to use your logo. Use it as a brush or PNG overlay.
