
For this tutorial you will need.
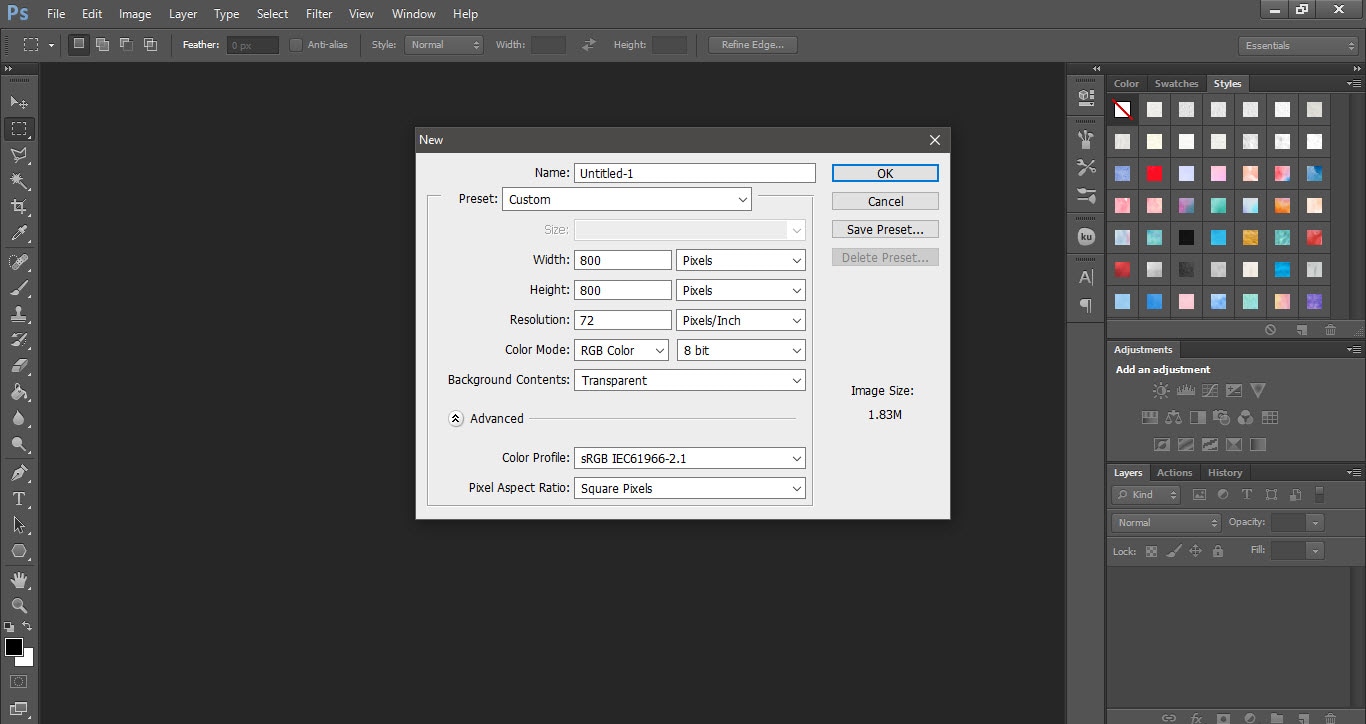
1. Make a new transparent canvas with the size of your liking.
2. Choose the brush tool & a watercolor brush.
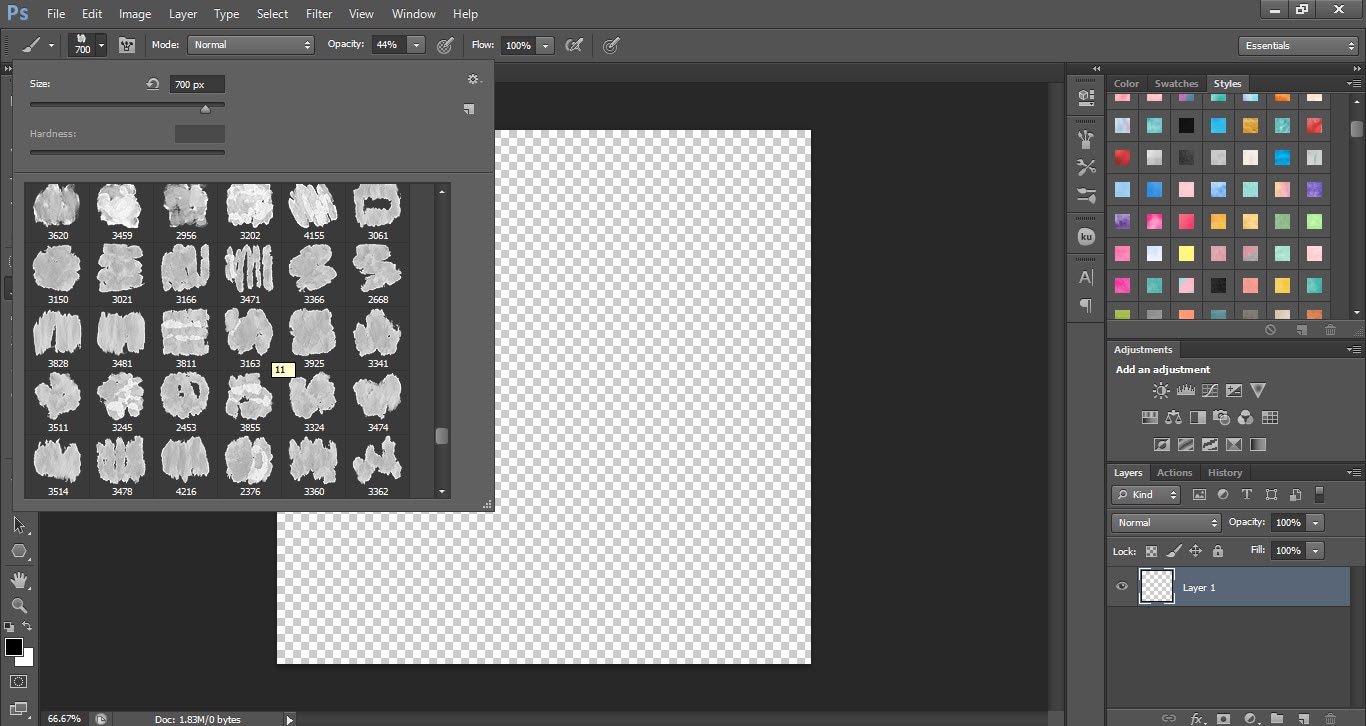
3. Stamp the watercolor brush on your blank layer. If it is to light click a few more times with your mouse to make it darker.

4. There are 3 ways other then using your color swatches to give your watercolor splash a more watercolor look. The first one is using watercolor styles. You can find a lot of free Photoshop watercolor styles on my blog.
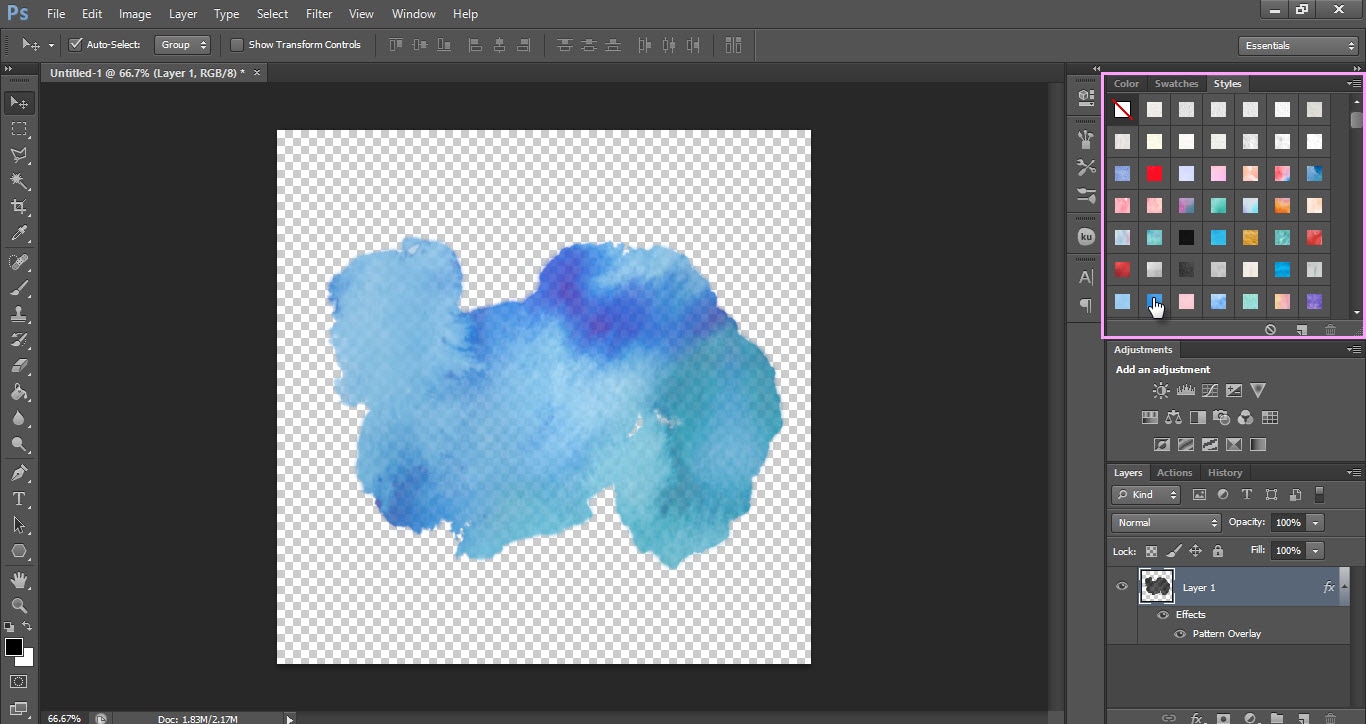
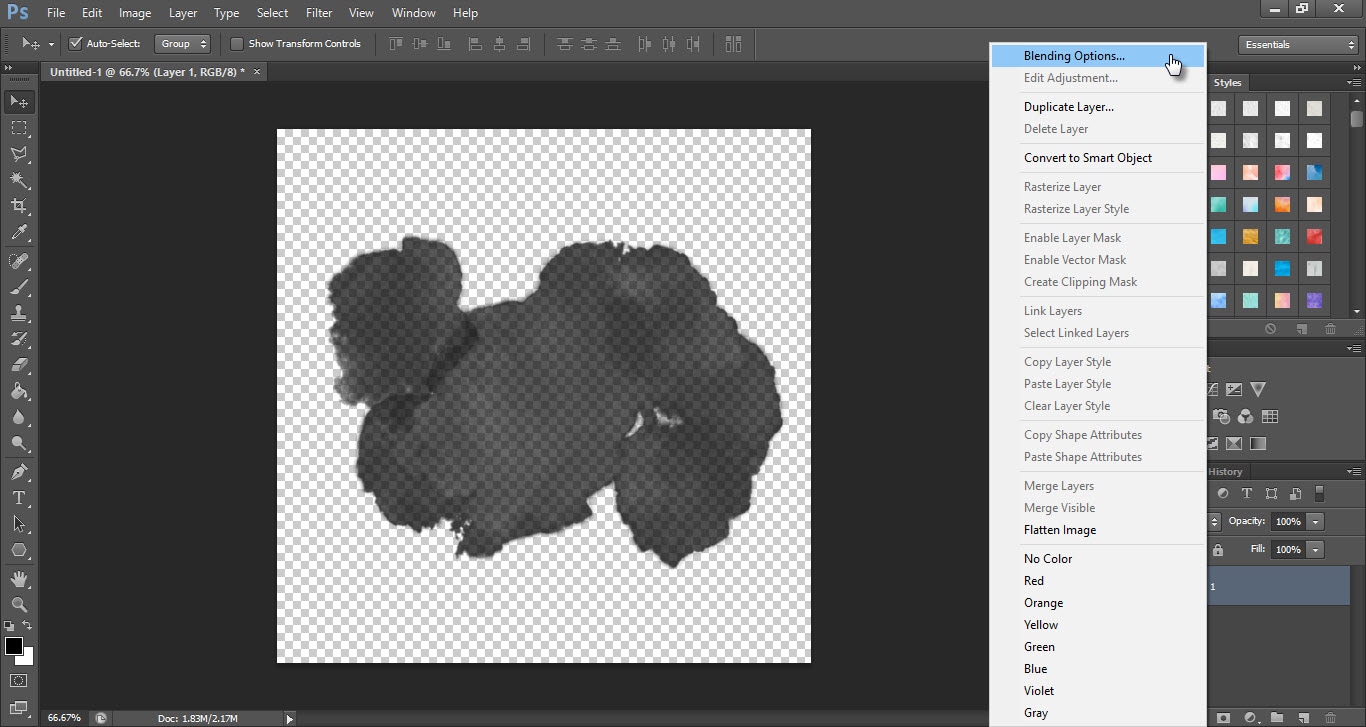
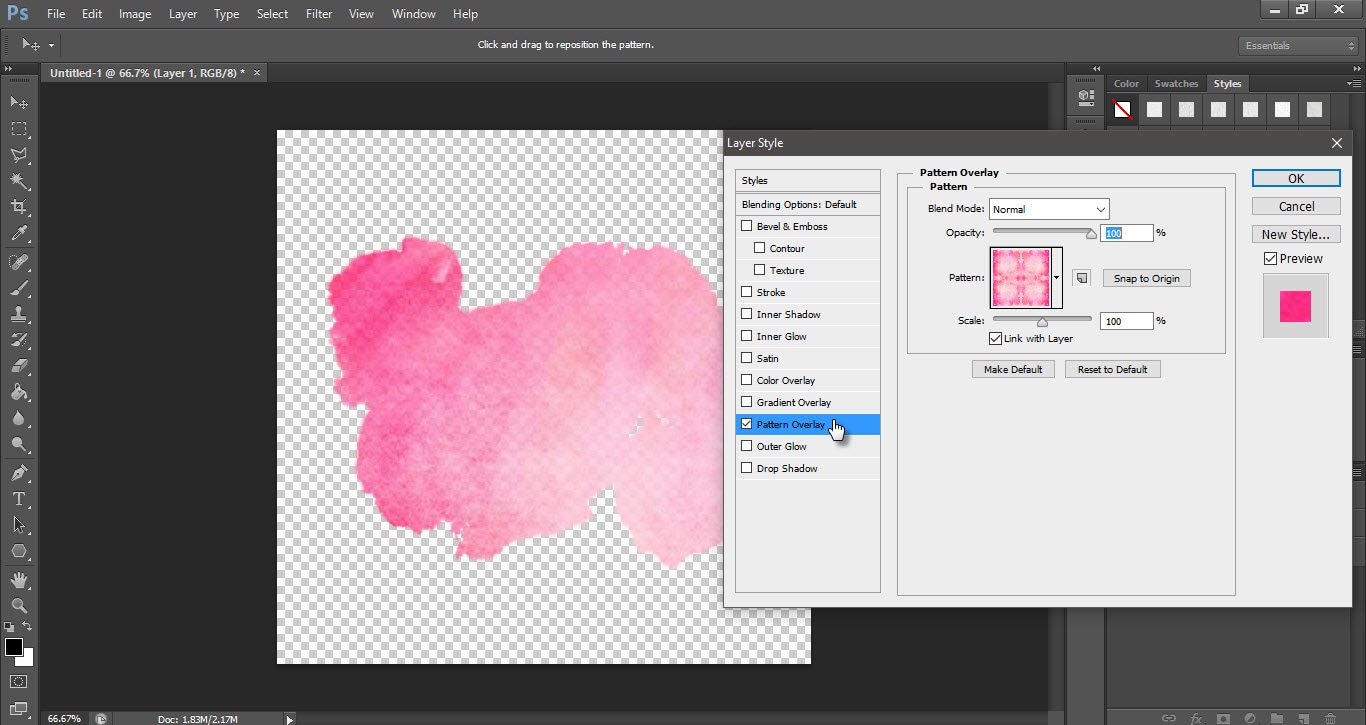
5. The 2nd way is using watercolor Photoshop patterns. Right click on your layer choose blending options. When the blending options box pops up select pattern overlay and choose a watercolor pattern that you have installed.
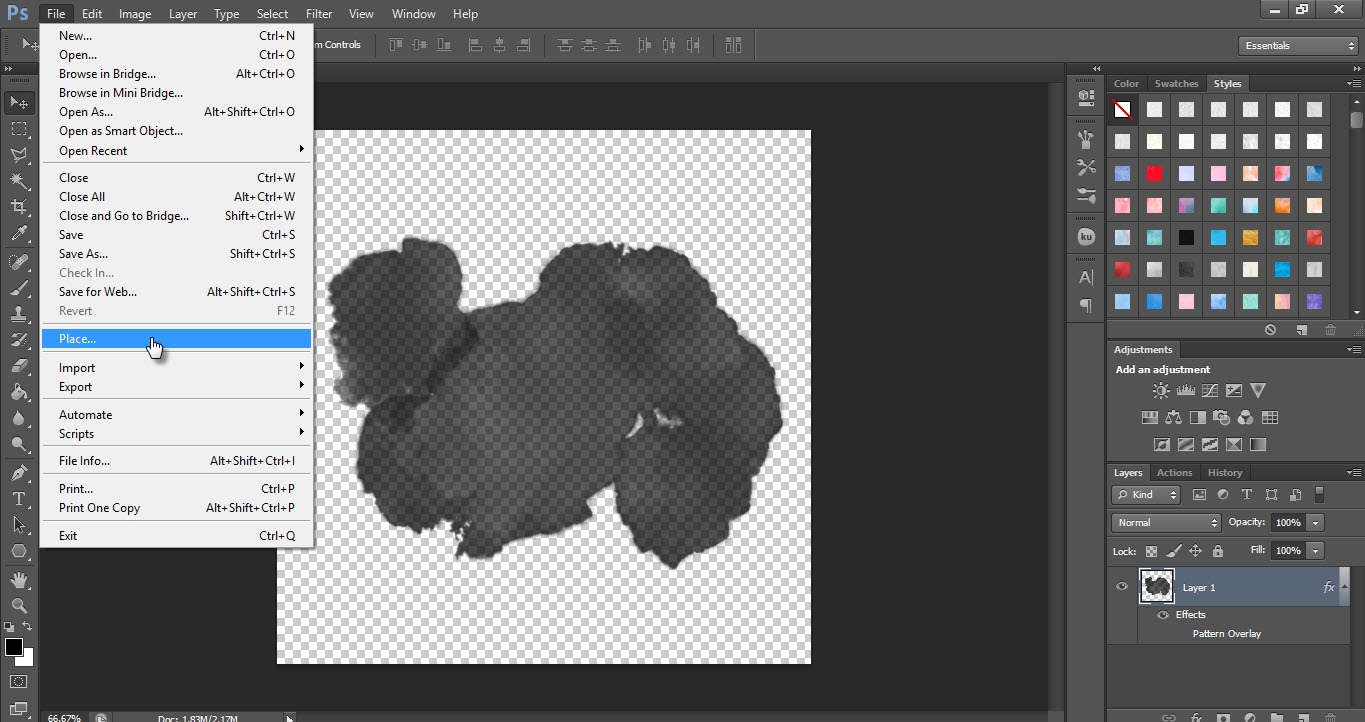
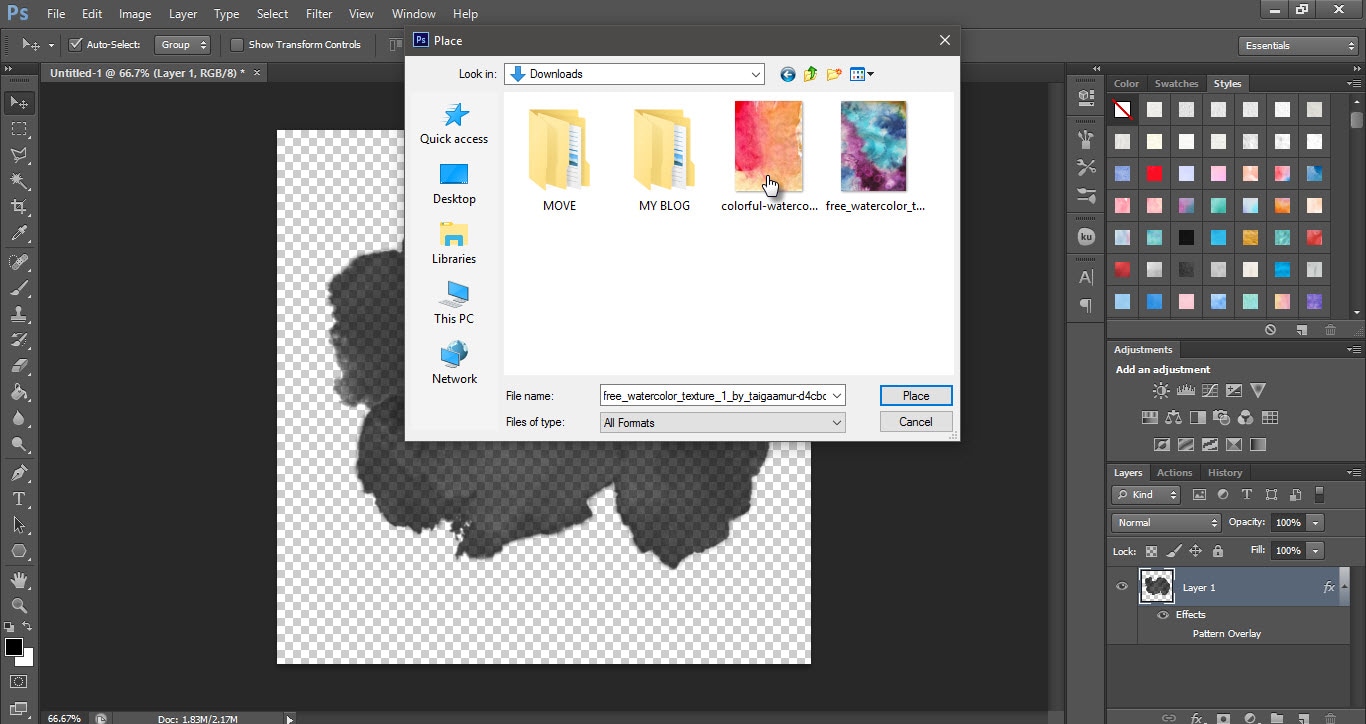
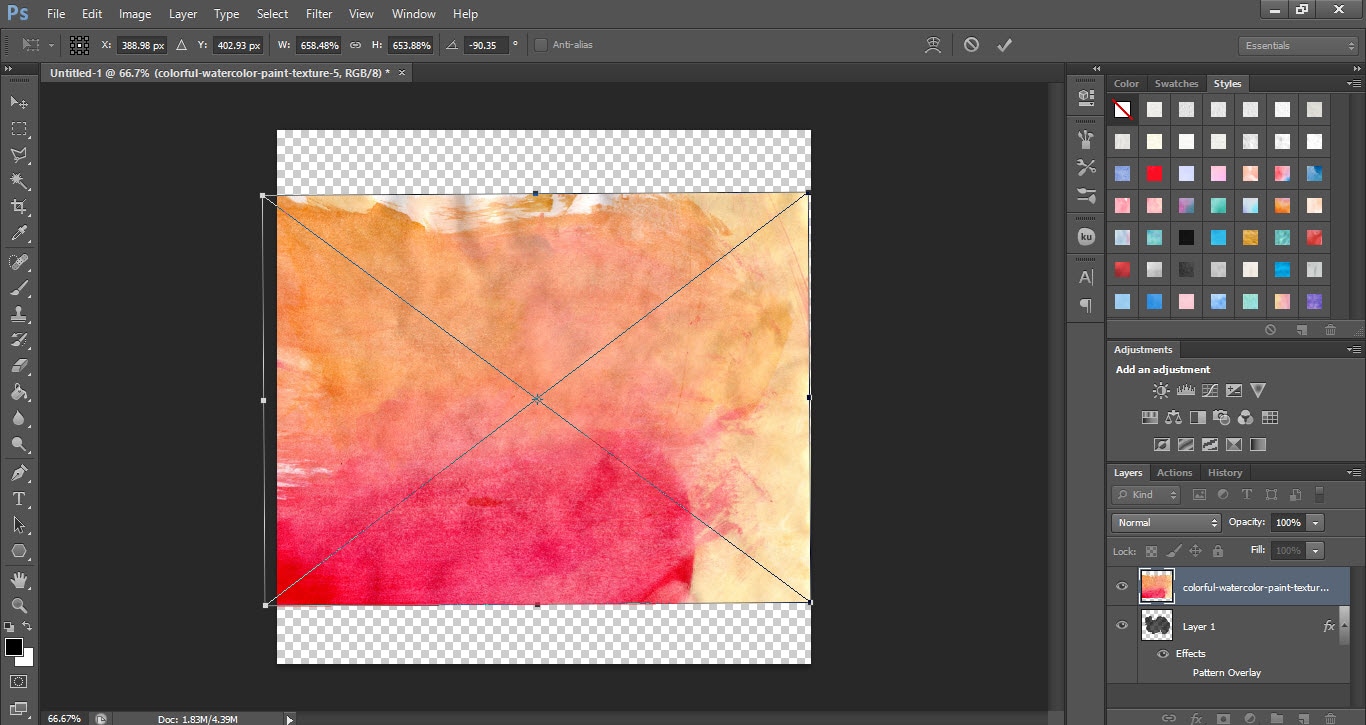
6. The 3rd and final is using watercolor textures and clipping mask. Go to File-Place. Then select the texture you want & double click on it to open it.
7. Holding down the shift key on a PC drag the texture over your watercolor splash then once it is cover press enter on your keyboard.
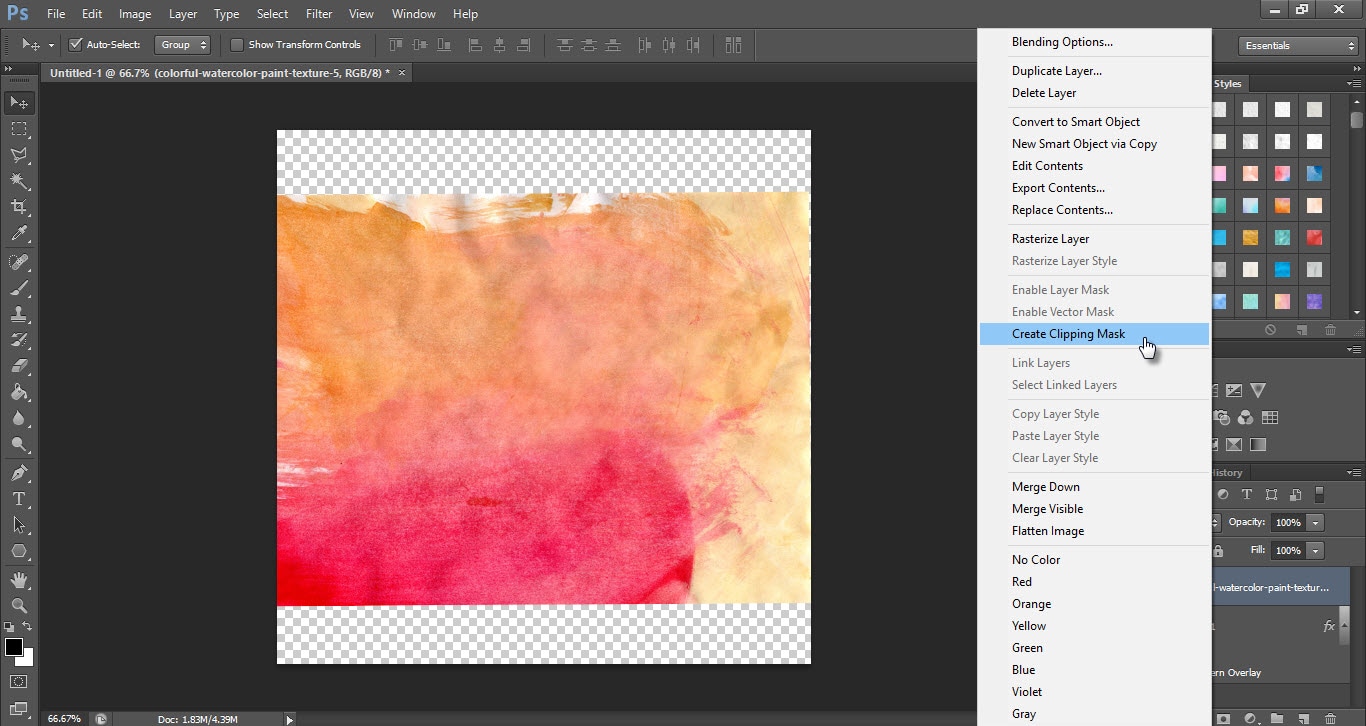
8. On the texture layer right click and choose create a clipping mask.
9. Once you are done go to file save as and save it as a .png file.
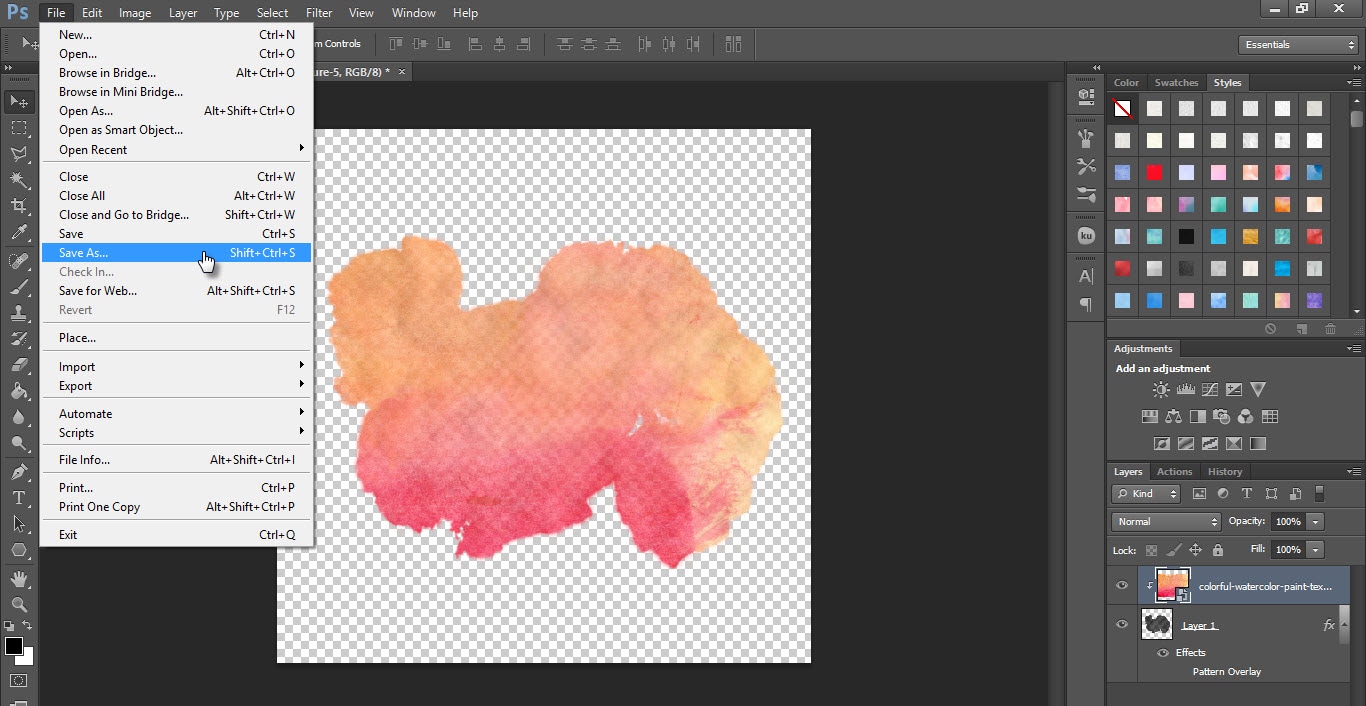

10. That is it you are done and you have made your very own watercolor splash graphics.