
- About Me Blog Graphic With Social Icons
Image Map Tool Online has changed some things since I have started using it and it seem's it has gotten a bit harder. Even I sometimes will go a while without using it and forget how to use it.
This is going to be a 2 part Tutorial. I'm going to show you how to make a about me graphic with social icons to image map the icons for clickable links.
You will need Photoshop and the Image Map Tool Link.
Lets Go!!!!
Lets start off with making your About Me and Your Icon's if you don't know how to make Icons With Font Awesome Please see this tutorial HERE.
First thing is first you need to find the width of your side bar.
Go to Design at the top of your blog. Choose Template from the menu. Customize-Adjust Width-Right Sidebar. Look at the px of your right side bar. Mine is 310px.
Now Open Photoshop to get started.
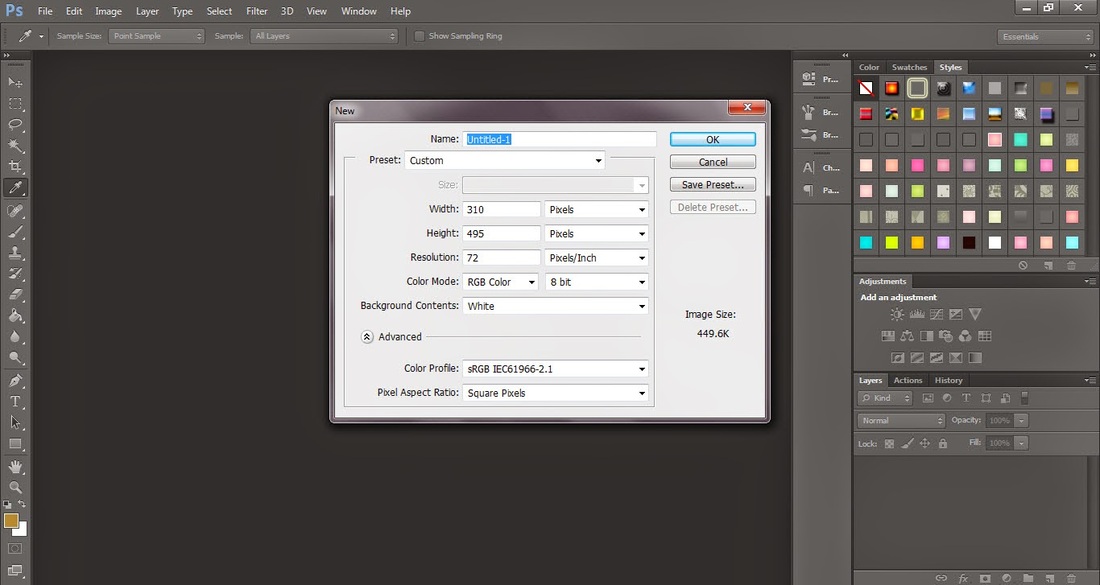
1. File New. Make the width the size of your blog side bar px. Mine was 310 and the height between 400 and 500 px.
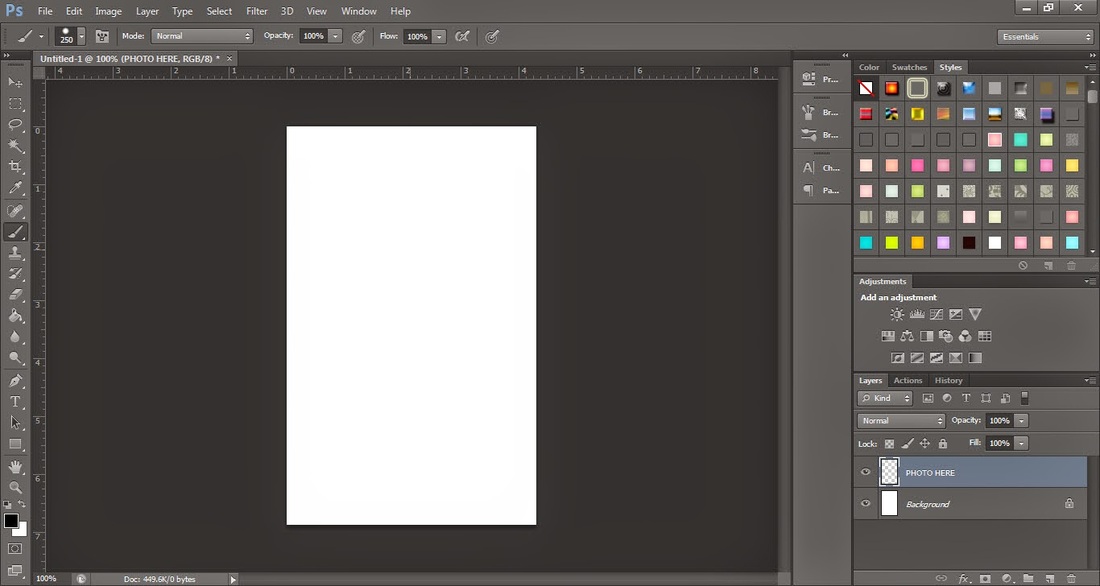
2. Make a new layer name it Photo here. Choose a round hard brush size of the brush no more then 250px and stamp a circle on your new layer.
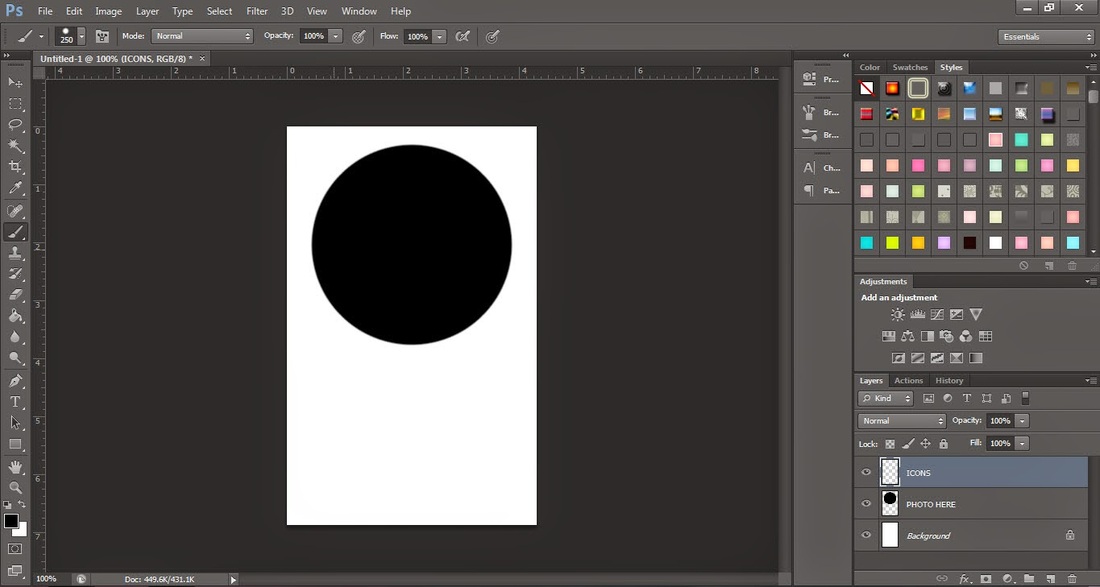
3. It should now look like this. Make a new layer name it Icons.
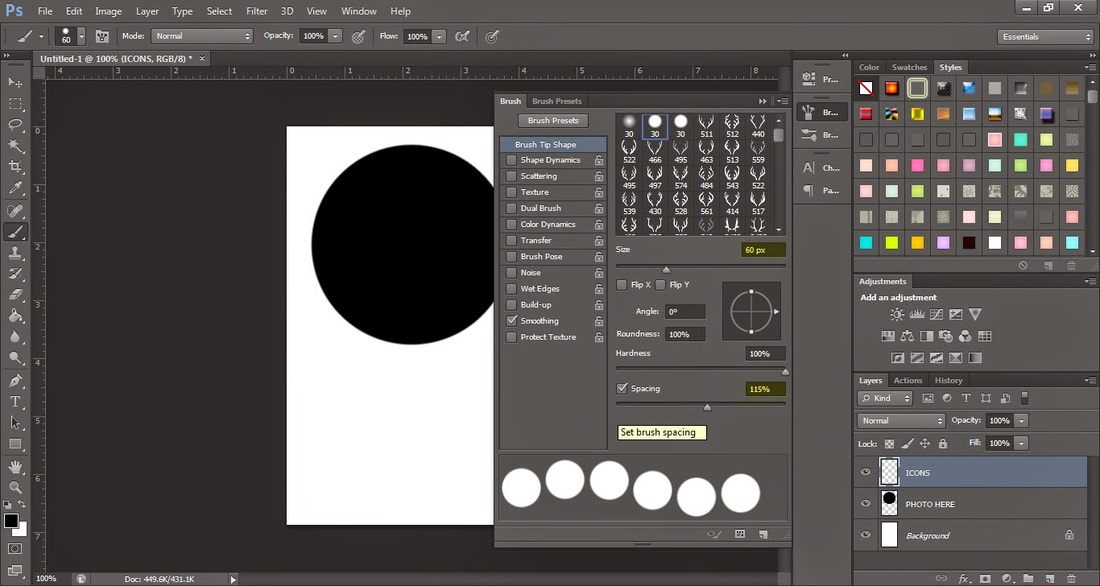
4. Open your brush preset window with the hard circle brush still selected. Change the size of the brush to 60% and the spacing to 115%.
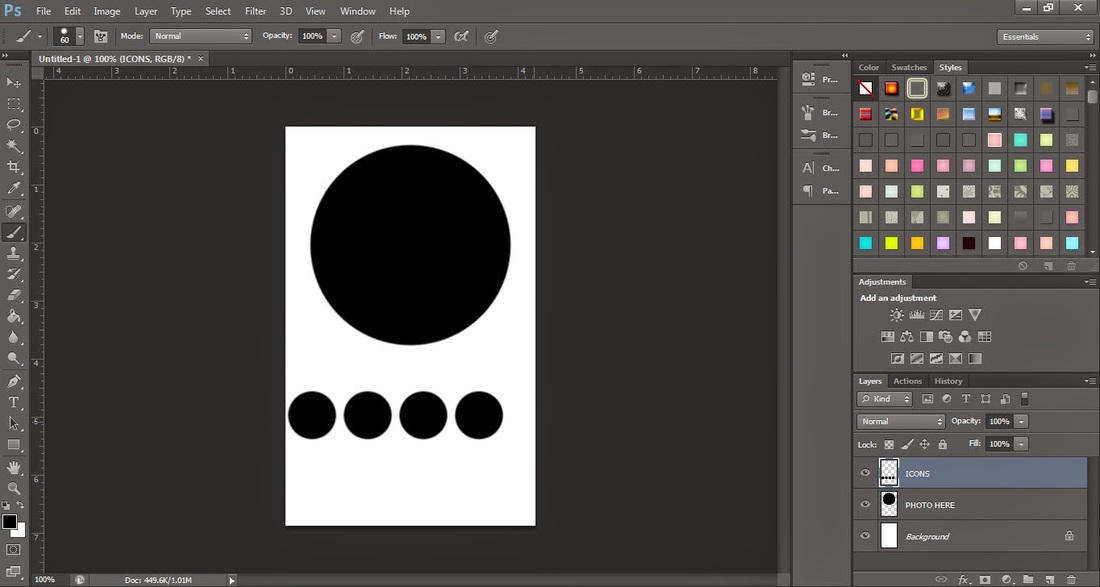
5. On your Pc hold the shift key, click once with your mouse and drag across till you have 4 circles. Its ok if its not even with your layout, just use the move tool and line it up.
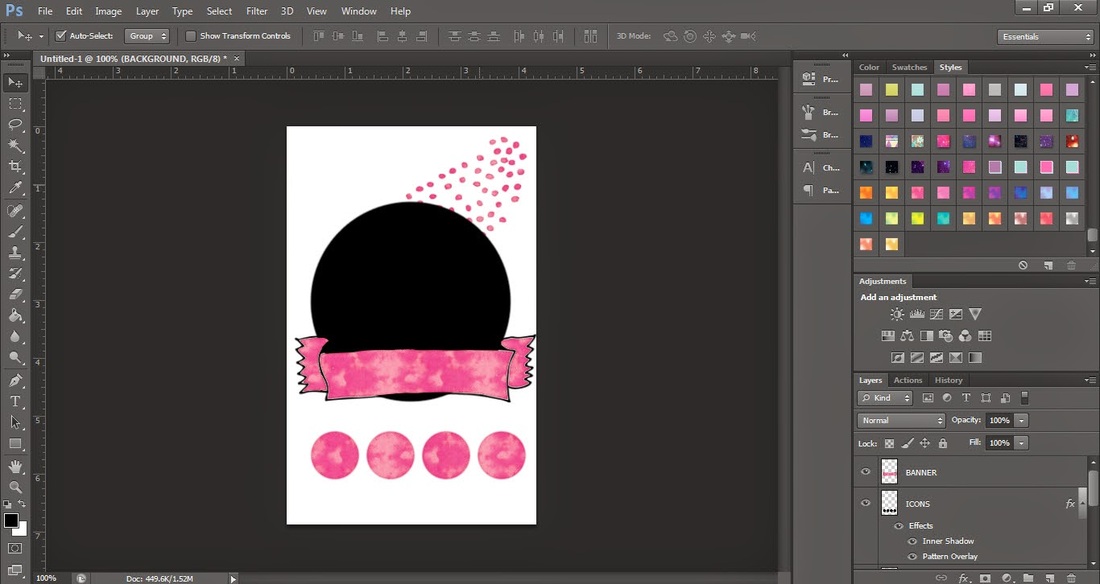
6. Decorate your About me using Pngs, Brushes, Patterns and Styles.
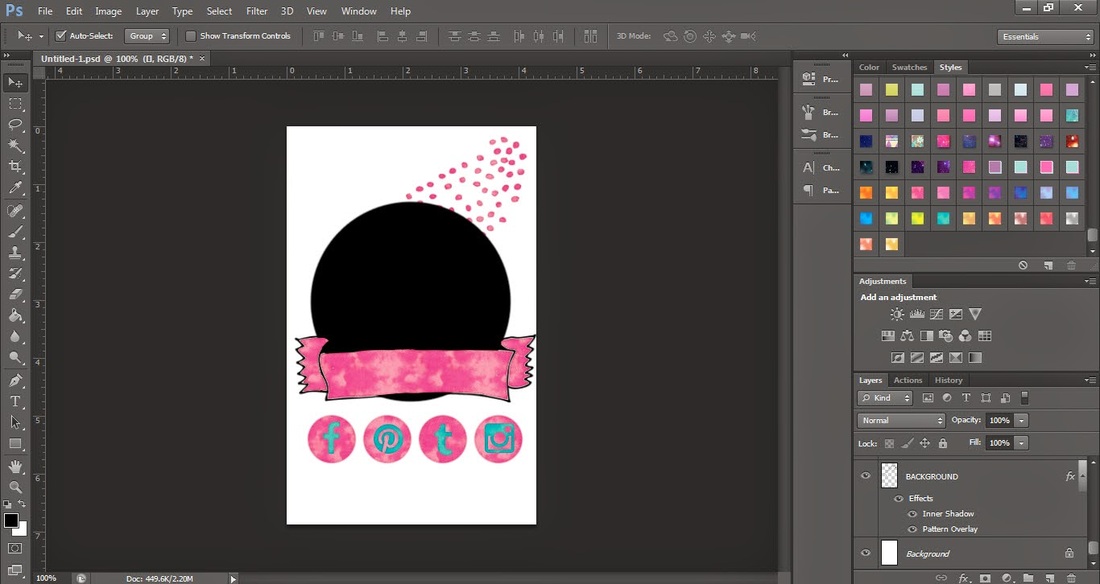
7, Using the Icon tutorial make your social icons. Here is how mine looks now.
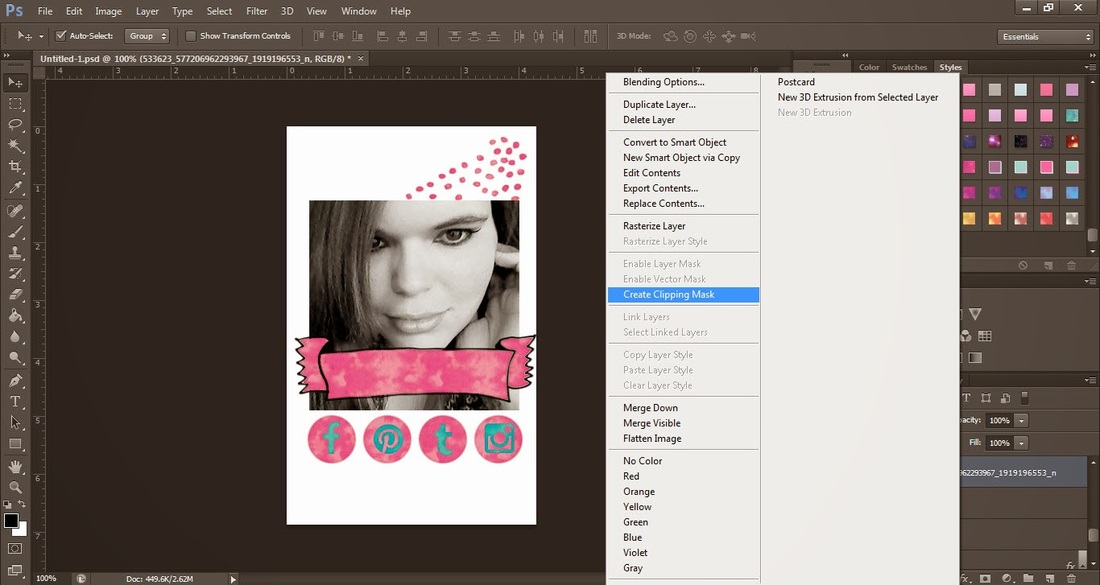
8. File-Place choose a photo you want to use for your About Me/Social Icons. Right Click on your photo in layers and choose create clipping mask.
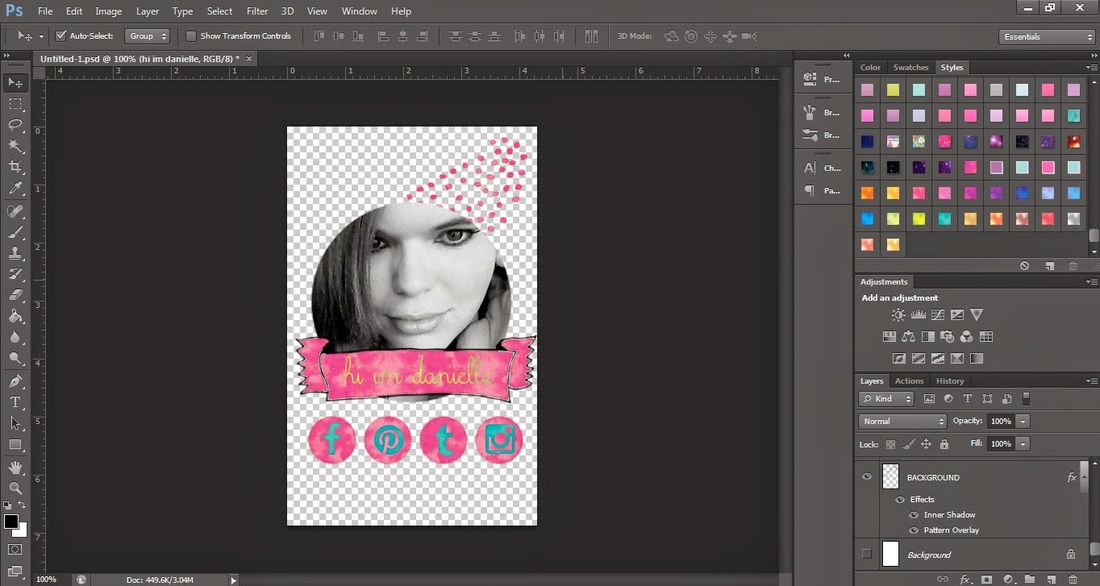
9. Turn your eye off on your background layer. Now go to File-Save As-PNG
Now lets get ready for part 2! Image mapping.
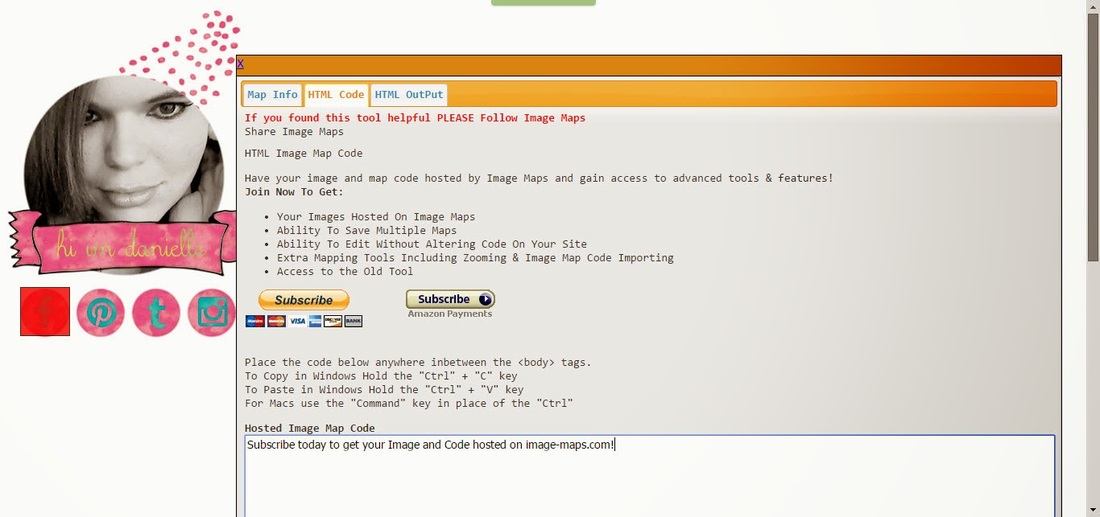
Click Here to go to the image mapping tool online. You will need to make a free account and login.
Click Here to go to the image mapping tool online. You will need to make a free account and login.
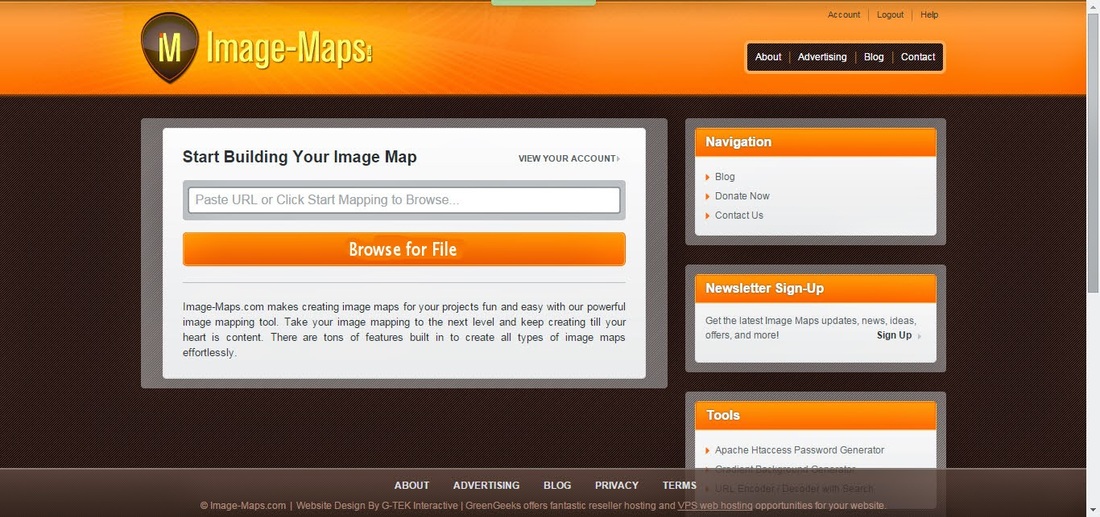
1. If you do not see this page, click Image-Maps Icon at the top of the page. Then choose Browse for file. Upload your about me social icons. Choose start mapping.
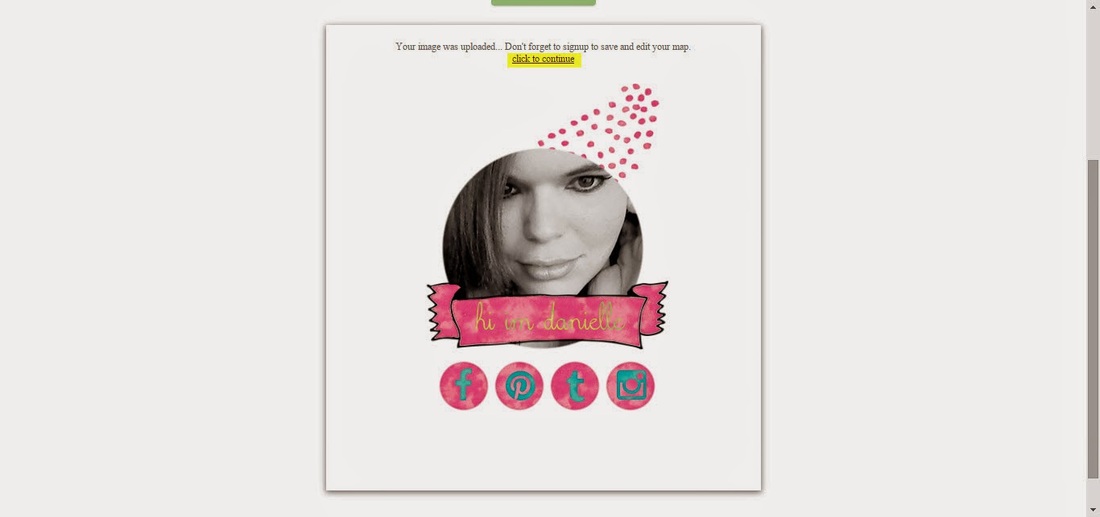
2. You will come to this page. Click on click to continue.
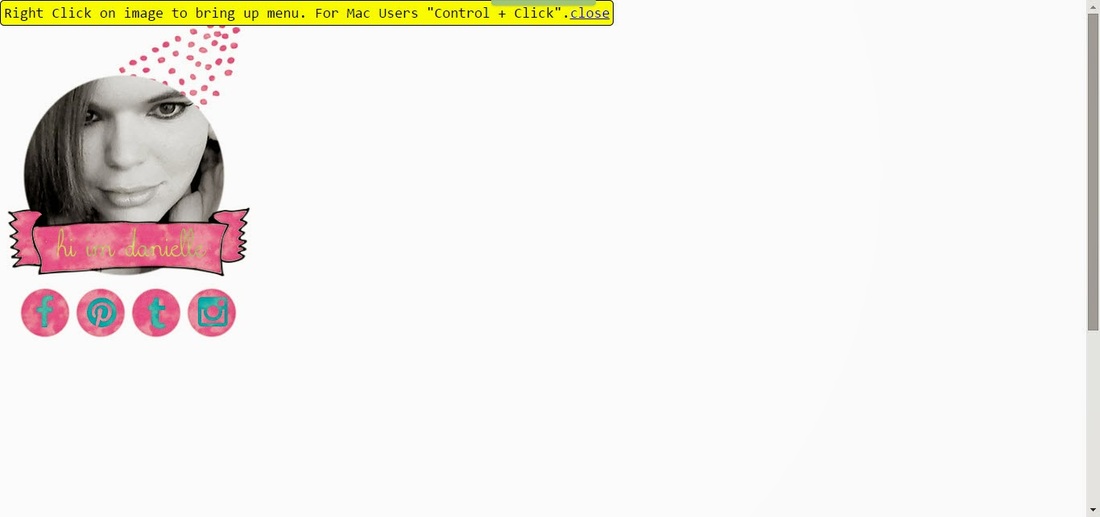
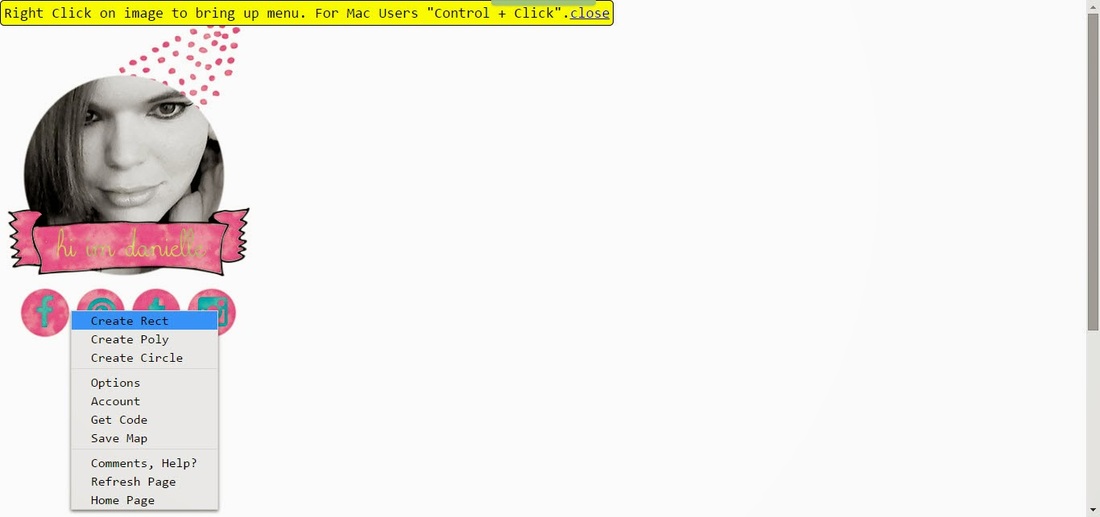
3. Right click and choose create a Rect.
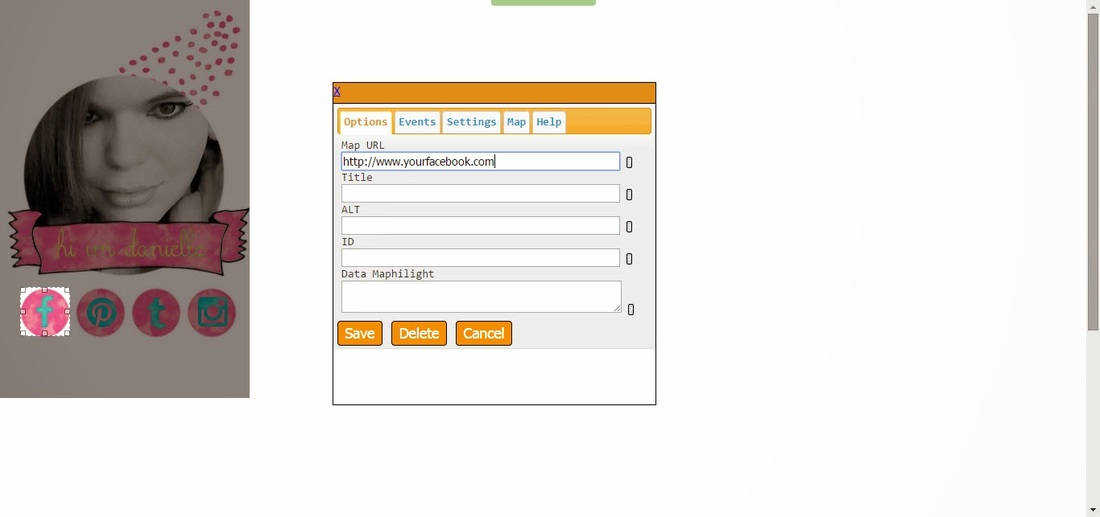
4. In the map url place your social icon url. Do step 3 and 4 for all of your icons.
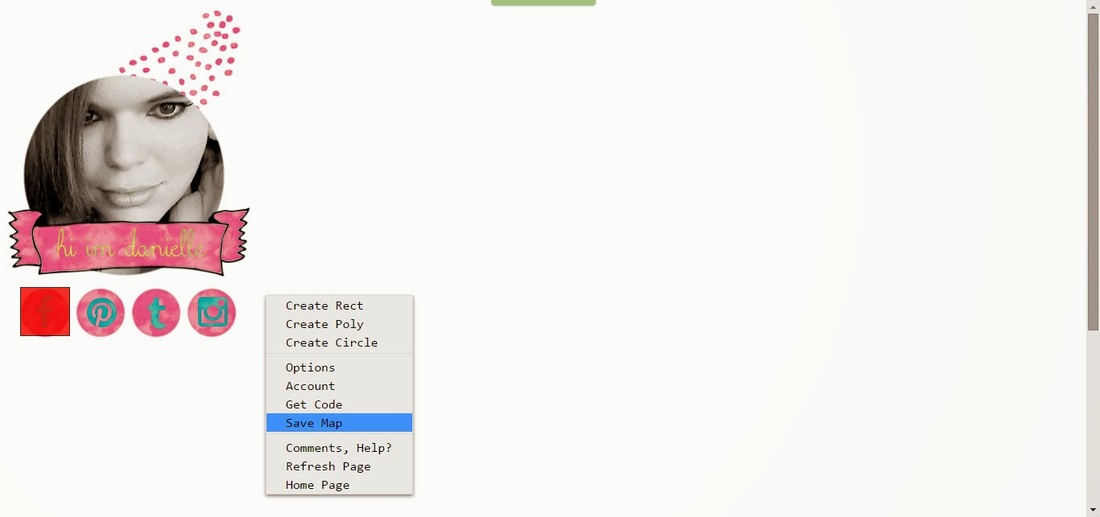
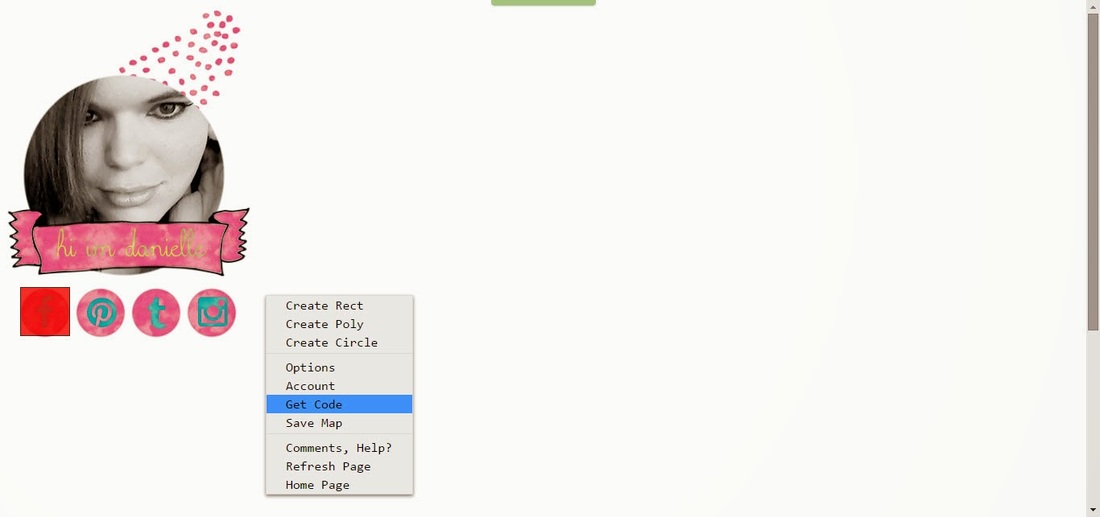
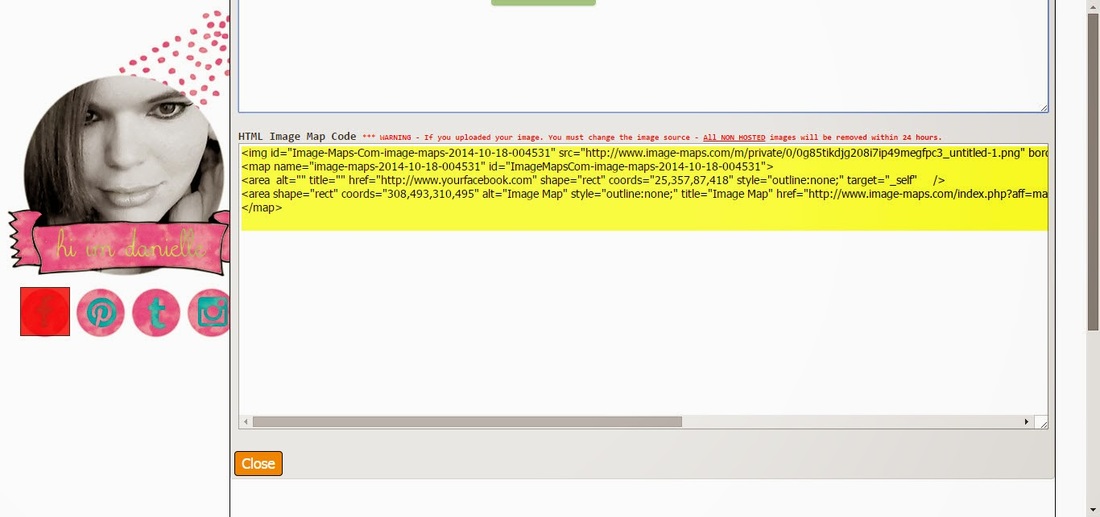
5. Right click-Save Map. Right Click-Get Code Choose HTML Tab. Drag the box to the top until you can see your HTML code at the bottom. Copy that code.
Go to your blog. At the top of your blog choose Design. Choose Layout in the menu. In your right side bar menu choose add gadget at the top. Choose the HTML Java gadget and paste your code. Click save and your done.
Go to your blog. At the top of your blog choose Design. Choose Layout in the menu. In your right side bar menu choose add gadget at the top. Choose the HTML Java gadget and paste your code. Click save and your done.
|
Give it a try. Click on the Facebook icon.

|
