How To Make a Background For Your Star Map Printable in Photoshop
If you want to learn how to make your own star map you can read my blog post HERE. If you are coming from my blog then please continue.
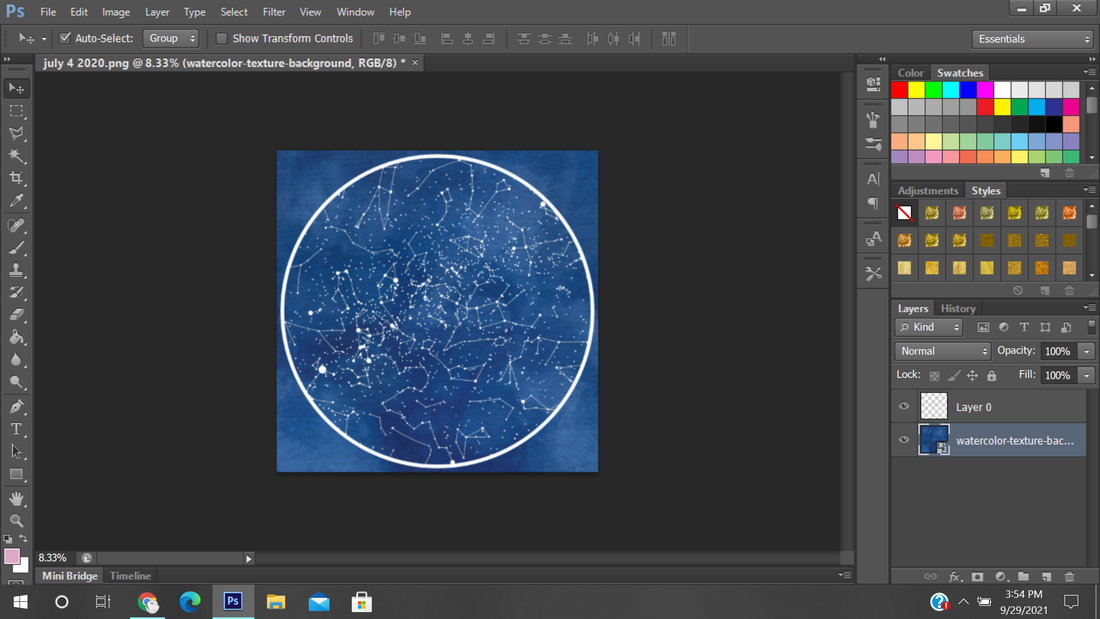
1.Open your Star Map in Photoshop.
1.Open your Star Map in Photoshop.

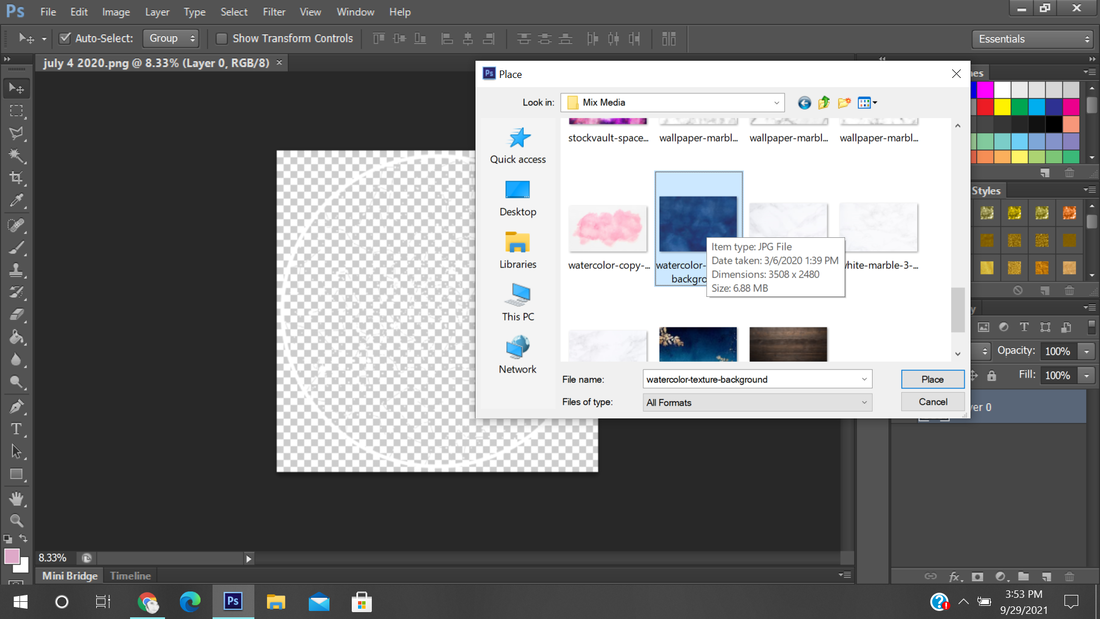
2. Go to File-Place and place the image that you want use to fill behind your star map.
3. Resize the background image if needed & drag the layer behind your star map.
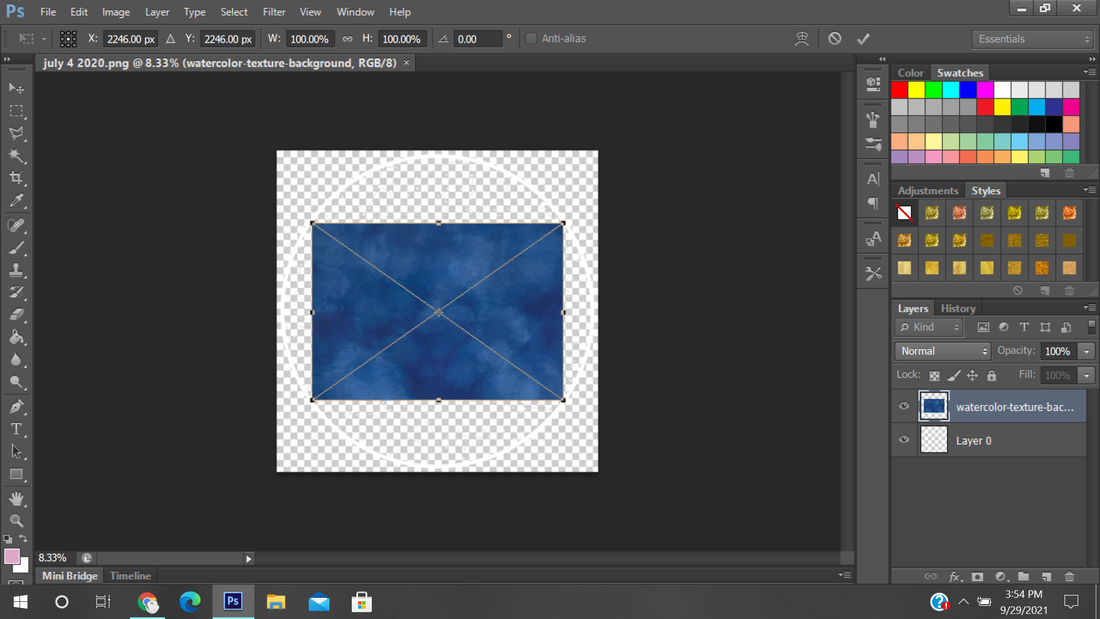
3. Right click on your background layer and choose rasterize layer.

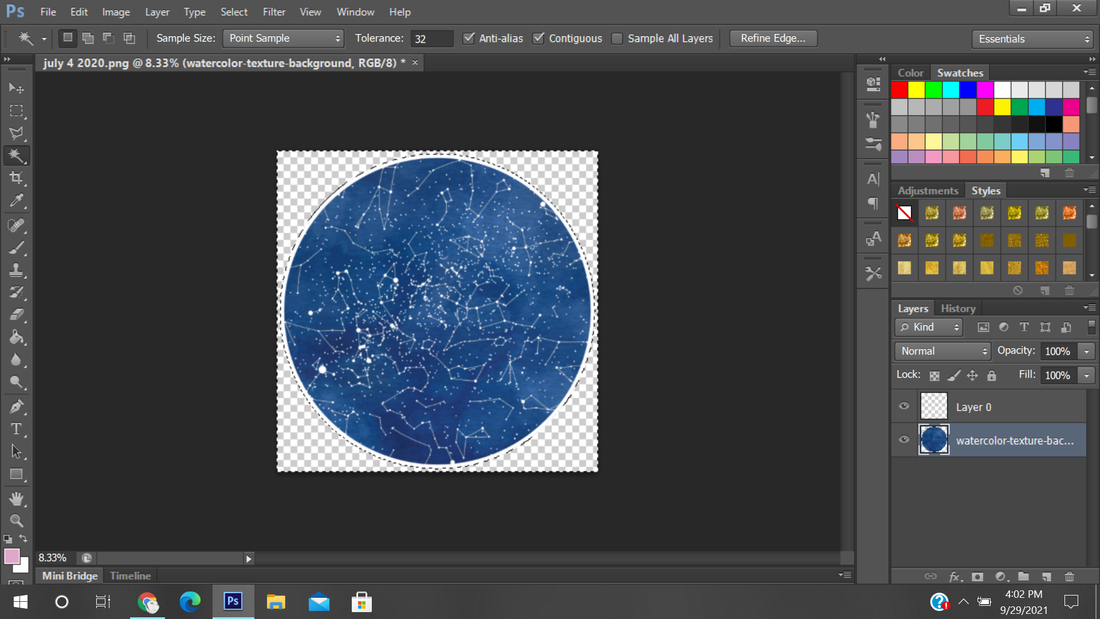
4. Choose the wand tool. Make sure you click on the Star Map layer. With the wand tool selected selected tap on the star map to make a selection.

5. This is important. Now select your background layer on your layers tab and on your keyboard press delete. Once you have done that Choose Select- Deselect or CTRL+D on your keyboard.
6. Use textures or styles to change the color of your star map to gold or the color of your liking. Once your done right click on one of the layers in layers tab, merge visible and save it as PNG.